Colored Bathroom Ceiling Tiles Bring Life to Your Outdated Bathroom
Written by Milan Jara on 18th May 2019
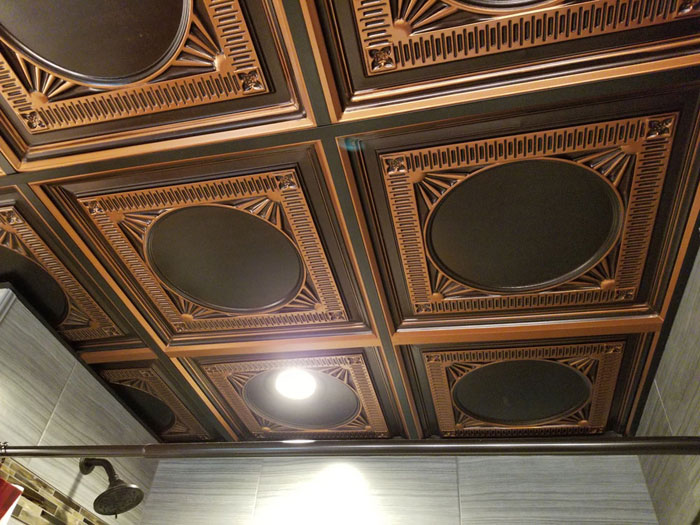
When renovating a home, the first place that homeowners tackle is the bathroom. The downside of a bathroom remodel is, of course, the cost. For many DIYers, the cost of renovating a bathroom can be quite high, especially if there are mistakes that have to be cleaned up.
However, there is one easy project you can do by yourself that won’t cost you a fortune now or later. Renewing your bathroom ceiling with new tiles can transform the space overnight. Along with a ceiling fan, tin ceiling using tin tiles, a drop ceiling with panels, acoustical ceiling tiles, a plain white ceiling, or using paint colors, there are so many options to choose from to improve your ceiling. In this article, we are going full color! Here is how to take your bathroom ceiling from drab to fab in no time.
Why Use Color
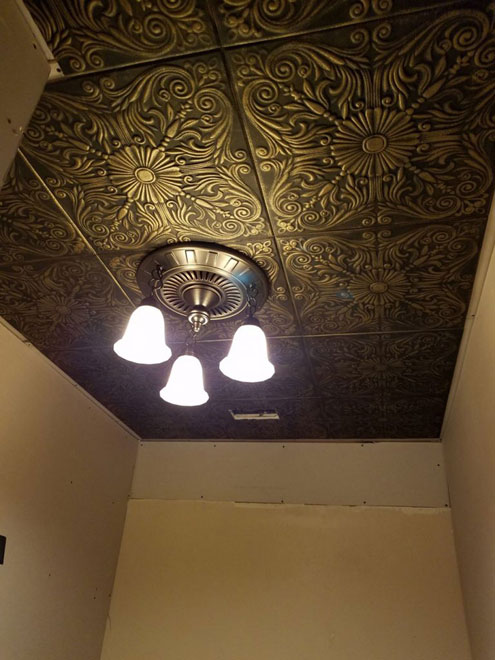
Bathroom ceilings are typically neutral in color. The walls are also usually neutral for obvious reasons. Because bathrooms are common spaces, having colors in a bathroom can be a decorating faux pa for some people. Just because the walls are neutral colors, however, it doesn’t mean the bathroom ceiling must be, too.
If you are looking to keep the overall aesthetic of the bathroom a neutral color, you can still achieve the design you’re looking for but with an added pop of color on the ceiling. A bathroom ceiling is the usual place to think of putting color, but the unexpected is often times the best decision.
With gray, beige, or white walls, a bathroom ceiling can take on many different colors. All you have to do is decide which color you want to accentuate the space and go for it. Colors such as turquoise, lavender, and even yellow are great colors for a bathroom ceiling as they bring attention to the top of the room without closing in the space too much.
Materials You’ll Need
You can always opt for painting the bathroom ceiling yourself if you have drywall ceilings. If you don’t have drywall for your ceiling, you’ll need to look for other options such as ceiling tiles. And even if you do have drywall for your ceilings, you may want to add a pop of color along with a unique design to give the bathroom ceiling even more character.
Styrofoam bathroom ceiling tiles are perfect for this job as they are easy to paint and easy to install. With unique designs ranging from geometric to classical designs, Styrofoam bathroom ceiling tiles are exactly what you need to get started.
Next, you’ll need a water-based paint only. Keep in mind that painting your bathroom ceiling tiles before you put them in place will require a large space for drying such as your garage or yard. It may be easier to paint them once they’re on the bathroom ceiling, but you risk getting drips of paint on the floor if you’re not using professional-grade equipment.
When you’re ready to install them on the actual bathroom ceiling, you’ll need an adhesive that works in locations prone to moisture and residue. With steam from the shower rising to the ceiling, an adhesive that isn’t equipped to hold up in the steamy moisture could result in constant patchwork and frequent headaches.
How to Install Styrofoam Bathroom Ceiling Tiles
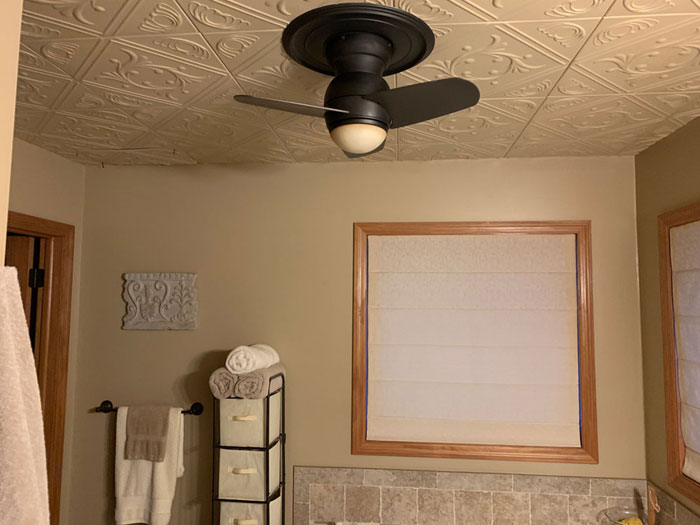
For more in-depth installation instructions, check out Styrofoam ceiling tile installation here. Here are some basic steps to help you get started and to determine if this project is right for you.
1. If you have popcorn ceilings (or any other type of ceiling that isn’t flat like drywall), you will need to ensure the surface is flat and clean before application. Scrape off the popcorn from the ceiling, clean with a rag, and sand down any uneven patches. If you do not complete this step first, the bathroom ceiling tiles could be at risk for falling down later. This will cost you extra time and money and could potentially cause water damage if left untreated for too long.
2. Locate the center of your ceiling by using the string method (also referenced here). This will help you determine how to lay out the Styrofoam bathroom ceiling tiles when it comes time to installation.
3. Apply the adhesive onto the back of the Styrofoam ceiling tile in small 1” mounds. Spread them out evenly across the back of the tile to ensure full coverage when placed on the ceiling.
4. Place the first Styrofoam bathroom ceiling tile in the center of the room away from the light fixture(s). From there, you’ll work outward to ensure that you don’t leave any gaps on the side of the ceiling space.
5. Trim any bathroom ceiling tiles that are too large for the remaining space on the outside perimeter. For a bathroom ceiling, you may not have to do much trimming, which is always a good thing.
6. Complete the final caulking to ensure that all gaps are closed in and no moisture or dirt can escape into the crevices or between the tile and the ceiling itself. If you do not complete this step thoroughly, you may find yourself with water damage or mold issues down the line. Check out more in-depth instructions here.
Benefits of Styrofoam Tiles on Your Bathroom Ceiling
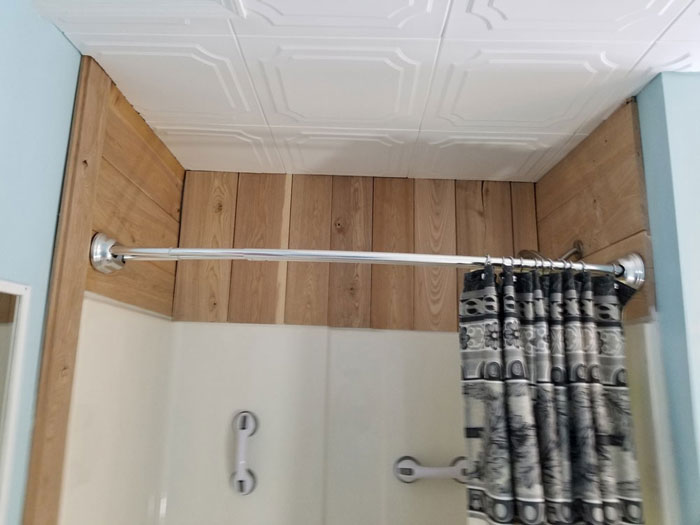
+ Easy to Paint
Because Styrofoam is such an easy material to paint, you won’t have any trouble achieving the desired color with fewer coats. Water-based paint is the best option for Styrofoam as acrylic paint can erode the Styrofoam over time and cause the ceiling tile to become disfigured.
+ Easy to Install
Lightweight and durable are two of any home renovator’s favorite words. They mean that installation will be a breeze. For Styrofoam bathroom ceiling tiles, lightweight and durable are two things you want for installation. There won’t be any need for heavy-duty nails or any risk of heavy ceiling tiles falling down on your head while you’re getting ready in the morning. Less time, less hassle, more design!
+ Economical
A bathroom ceiling will be easier on the wallet than most other ceiling renovations simply because of the space that needs to be covered in tile. However, Styrofoam bathroom ceiling tiles that are painted to your liking will save you money in the long run. They are not typically on the lower end of the spectrum in terms of costs, and they have great designs to choose from. No one will be able to tell they’re Styrofoam from the ground, so you can get the most bang for your buck with Styrofoam bathroom ceiling tiles!
+ Temperature Control
Styrofoam bathroom ceiling tiles will help keep your bathroom from getting too hot when you turn the water all the way to scolding hot. All kidding aside, Styrofoam bathroom ceiling tiles are great options because they keep the heat down, which reduces electricity bills (especially in the summer months). Keep your bathroom cool and your wallets full.
+ Great for DIYers
Completing a home renovation project can cost you a pretty penny (and that’s even if you do everything “right”). Styrofoam bathroom ceiling tiles couldn’t be easier for a DIYer (first timer or hundredth timer). They are so easy to install with their adhesive backing and lightweight materialand they’re easy to cut. Any DIYer could complete this project without spending a fortune for an expert to come out and fix their mistakes.
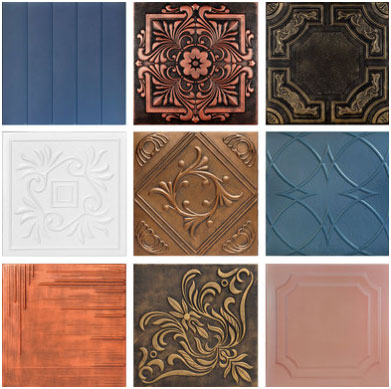
Check Out Some Inspiration
https://www.decorativeceilingtiles.net/3-full-hand-painted-styrofoam-tiles-sample-pack/


