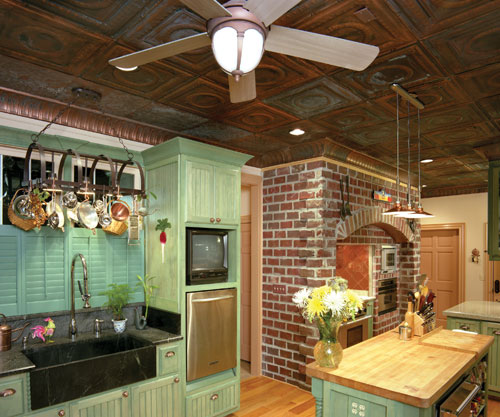
Decorative Ceiling Tiles: Drop-In Installation Part II
Written by Milan Jara on 6th Oct 2011
This is the second installment of our instructions on how to install drop-in decorative ceiling tiles. If you happened to miss Part I, it can be found here and we also covered the installation of nail-up tin decorative ceiling tiles beginning with this post.
I have discussed the various considerations that must be examined to determine if your room is appropriate for a drop-in ceiling and you are now almost ready to begin installing the grid system that will support your decorative ceiling tiles. However, before starting its important to make sure the room is ready for the project.

You’ll be working on a ladder or perhaps a rolling work platform, so it’s important that all furniture be moved out of the way — preferably into another room. This prevents any possible damage and guards against accidental falls. If moving the furniture into another room isn’t a possibility, it can be moved into one corner but you’ll probably be moving it several times. Depending on whether you’re doing a complete room remodel or just upgrading the ceiling, you might also want to cover the floor with a drop cloth before starting to install grid.
Decorative Ceiling Tiles Drop-In Grid Installation
Drop-in decorative ceiling tiles are supported on all four sides by a grid system that’s DIY friendly to install. We’ve already discussed ceiling height so make a mark on any perimeter wall at the height your new ceiling will be located. The next step can be done using several methods, but the easiest happens to also be the best — use a laser level to establish the ceiling height on all perimeter walls.

Unless you plan to install decorative ceiling tiles in every room of your home or start a side business, purchasing a laser level may not make much sense. They can often be rented at tool rentals or home improvement stores. A laser level can be mounted at your future ceiling height and a laser light will project around to entire perimeter of the room so that it can easily be marked and you’re assured of a level ceiling. The light will even go into offsets and odd room angles.
The other option is to use a conventional four or six foot level to go around the room and mark the ceiling height. This method works but can be a little awkward for a single person trying to hold the level in place and make a mark at the same time. Once you have the height marked on all wall, you are now ready to plan your grid layout and begin actually installing the decorative ceiling tiles components. Stay tuned for Part III!


