From Popcorn to Beadboard Ceiling in Just Hours
Written by Milan Jara on 7th Apr 2022

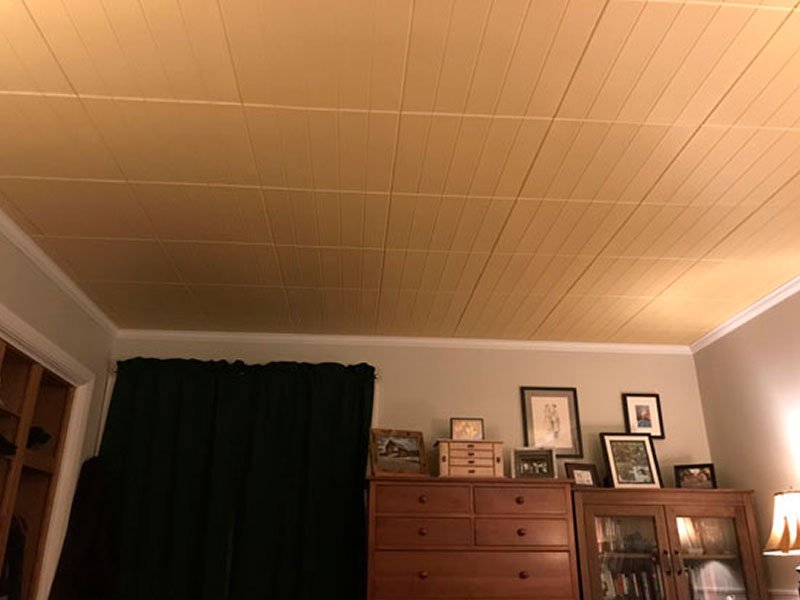
Installing beadboard ceiling panels over a popcorn ceiling doesn’t have to be hard. Here’s how you can go from popcorn to a beadboard ceiling in just a few hours.
Let's face it, popcorn ceilings can be ugly to look at sometimes. If you have such a ceiling that you have grown tired of looking at, consider taking it down or covering it with another type of ceiling. Taking the ceiling down can be tedious, which is where beadboard ceiling panels come in.
Beadboard ceiling panels are ideal for covering a popcorn ceiling instead of taking it down and adding a lot of value to your home design. They help you avoid the dirty work of removing the popcorn ceiling, which can be sometimes dangerous, especially in old homes where the ceiling may still contain asbestos.
True to our slogan "From Plain to Beautiful in Hours", our ceiling materials are easy to install, and our beadboard ceiling panels are a true statement of this since they are easy and fast to install. Here's why.
Estimated Time for Installing Beadboard Ceiling Panels
Whether you are an experienced DIY installer or a beginner, installing a beadboard ceiling won't take long. Here's the estimated time breakdown:
- Preparation time: 1-2 hours
- Application time: 2-4 hours, depending on the ceiling area to be covered
- Total time: 3-6 hours
Why Our Beadboard Ceiling Panels Install Fast and Easy Over Popcorn Ceilings

Installing our beadboard ceiling panels over a popcorn ceiling is easy and fast. Here are the main reasons this is the case.
1. The Popcorn Ceiling is Still Intact
Since you want to cover the popcorn ceiling wholly, you must leave it in place undamaged. However, you might want to ensure it is fully intact with no hanging parts or cracks. Any cracks must be filled first before installing the panels.
Moreover, the ceiling must be clean and free from dust, dampness, mold, grease, general dirt, wax, or flaking paint.
2. Beadboard Panels Install by Glue-up Method
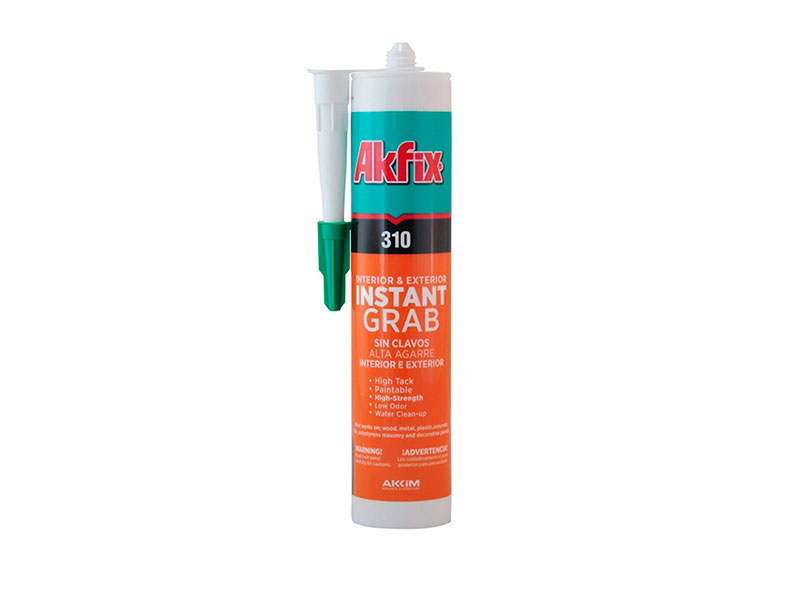
Installing beadboard is easy using the glue-up method. To attach the panels, you apply Instant Grab water-based adhesive on the back of each tile in small mounds of 1 to 1.5 inches in thickness.

Since popcorn is textured and the surface is porous, you'll want to add a little more adhesive in mounds in every corner of the panel, in the center, and some in other random spots where necessary.
The adhesive spreads evenly when you press the panel against the ceiling, though you should not let it flow past the panel borders. Do not apply too much pressure as this may damage the panel surface.
3. You Can Try Samples if Unsure
If you aren't sure about installing the panels the right way the first time, you can buy a few samples to try out. The samples make the process easy as you get to try them out before the actual application and see where you need improvements when you bring the panels home.
4. Beadboard Ceiling Panels are Lightweight
Our beadboard ceiling panels are lightweight, making it easy to lift them to the ceiling for installation. You don't necessarily require the help of another person to do the lifting.
5. Beadboard Ceiling Panels are Large

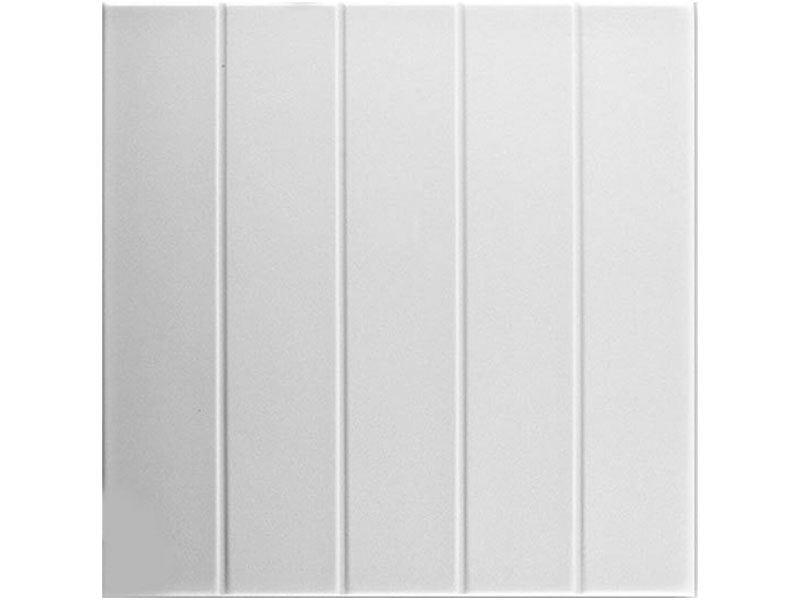
A few large ceiling panels are easier to install than many small ones. Our ceiling panels measure 2.66 square feet, meaning you only need a few to install in a small area.
5. Beadboard Ceiling Panels are Large
You don't need any expensive or special materials or tools to install beadboard ceiling panels.
The following are the materials and tools you'll need for this DIY beadboard ceiling home improvement project:
- Adhesive (Instant Grab)
- Beadboard paneling
- Utility knife/wallpaper knife/box cutter for cutting the panels where need be
- Sponge/rug for wiping off excess adhesive or caulk
- Matching color caulk (matching the color of the panels)
- Measuring tape
- Chalk line for marking the installation lines for each plank on the ceiling
- Gloves for keeping your hands safe and clean when applying caulk and adhesive
- Caulking gun for applying the caulk
- Carpenter's pencil for making markings where to cut the bead board panels.
- Straight edge for placing the panels on during cutting
The required accessories include touch-up paint and crown moldings.
7. Beadboard Ceiling Panels Come Pre-finished
You can order your beadboard paneling pre-finished, so you don't have to paint them. Pre-finished panels only require clear or matching caulk.
If you want to paint each beadboard panel or beadboard sheet, you can use white caulk or water-based paint.
Bottom Line
Covering an old or boring popcorn ceiling doesn't have to be complicated or take a long time. With our beadboard ceiling panels, you can easily and quickly cover your popcorn ceiling within a few hours.


