Installation Guide: How Do I Attach a Ceiling Medallion to the Ceiling?
Written by Milan Jara on 19th Jan 2023

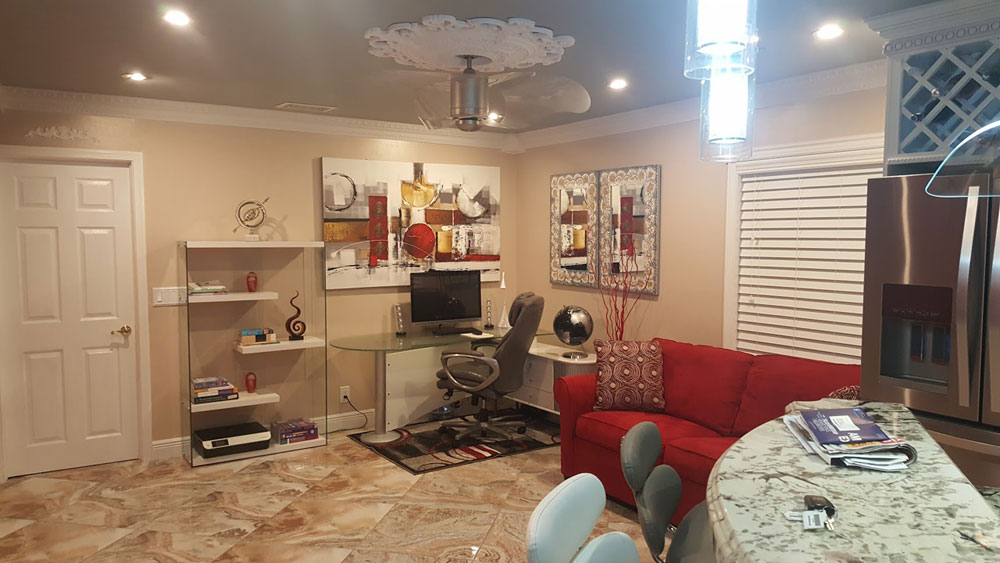
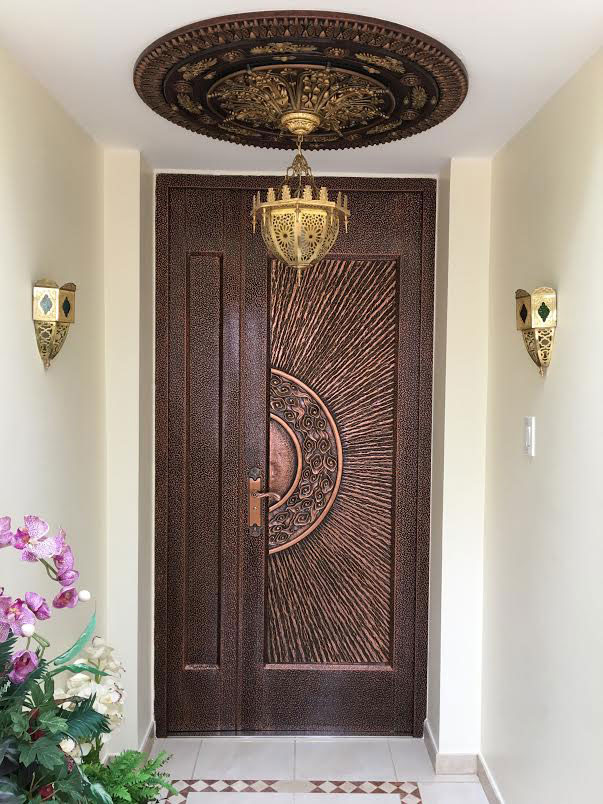
Whether your home has a contemporary style or traditional flair, ceiling medallions can change the look of a space in an instant. They can also be surprisingly simple to install.
There was a time when ceiling medallions were usually made of plaster, but now, they are made in lightweight and affordable polyurethane. With this innovative material, installing them has become a lot more DIY-friendly. With a range of styles, colors, and sizes readily available, they're a great way to add texture and visual interest to a ceiling and can complement any house style, whether it's traditional or contemporary.
If you're looking to learn how to install ceiling medallions, this step-by-step guide can help you get started.
Step 1: Gather Your Materials
You will need:
- Ceiling medallion
- Wire nuts
- Rule or tape measure
- Pencil
- Drywall saw
- Sandpaper
- Paint
- Trim-head screws
- Drill with a large bit
- Adhesive caulk
Step 2: Remove the Light Fixture

First, make sure that you switch off the power to the light you're removing. Then, take down the fixture and cover all wires with wire nuts. Once that's done, you can level and clean the section of the ceiling where you will hang the medallion if you need to.
Step 3: Measure Your Hole
If your ceiling medallion doesn't have a hole, you'll need to create one for the light fixture. This hole should allow you to pull the light fixture's electrical wiring through but still be small enough to hide the wires. Measure the diameter of the light fixture's cover plate. Then, subtract about a half-inch. Draw a circle with this diameter at the center of your medallion.
Step 4: Cut the Hole
Drill a large hole in the center of the medallion. Then, insert the drywall saw into this hole and use it to cut out the circle that you drew. Sand the edges of the hole until they're smooth. When you're done, check that the light fixture's threaded bolt is long enough to reach past the ceiling medallion: If it isn't, you'll need to use a longer threaded bolt.
Step 5: Paint
Paint or finish the ceiling medallion however you like and let it dry. You can also skip this step if you like the look of your ceiling medallion as is.
Step 6: Attach the Medallion to the Ceiling
Apply adhesive caulk to the back of the ceiling medallion, then stick it to the ceiling. Grab the trim-head screws and screw the medallion in while the adhesive dries (which will take about two hours). Then, caulk over the screw heads.
Step 7: Put Up the Light
Reattach the wires to your light fixture, then reinstall it. Once you're done, turn the power back on.
Installing our ceiling medallions is a pretty easy DIY project, but that doesn't mean everybody is up for the task. If you're still wondering "how do I attach a ceiling medallion to the ceiling?" or you're just not comfortable dealing with electrical projects or working up on a ladder, find someone else who can take care of it for you. No matter who installs your new ceiling medallion, the end result will be the same: a room that has a rich and polished look.


