Install Peel and Stick Tin Backsplash in Your Home to Create a Unique Look with Less Hassle
Written by Milan Jara on 4th Feb 2019

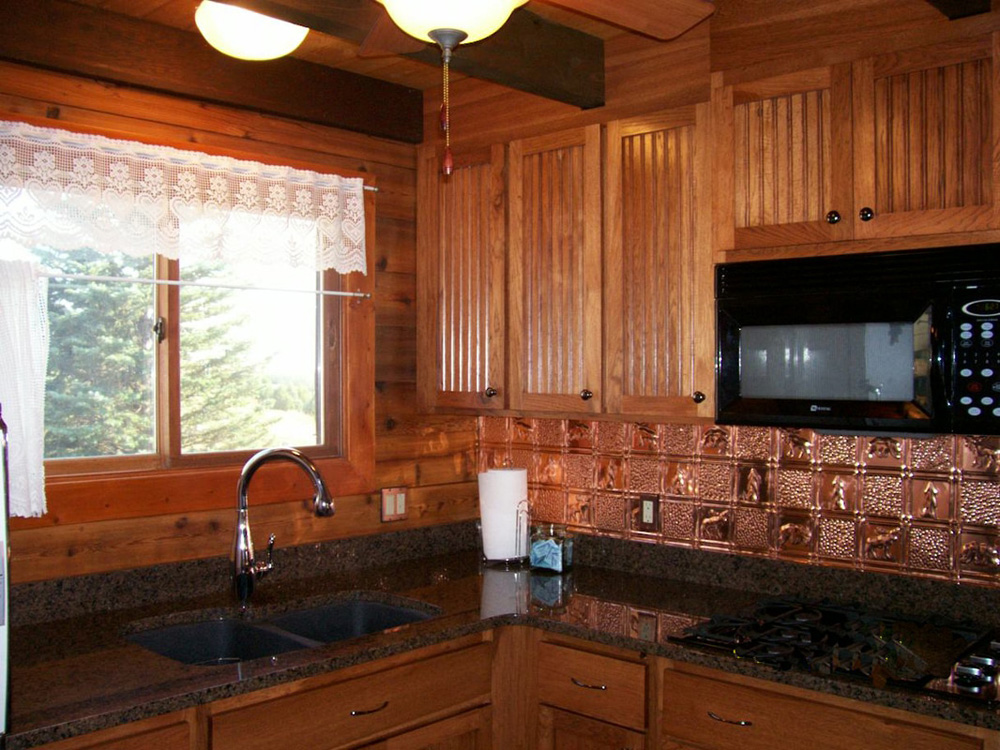
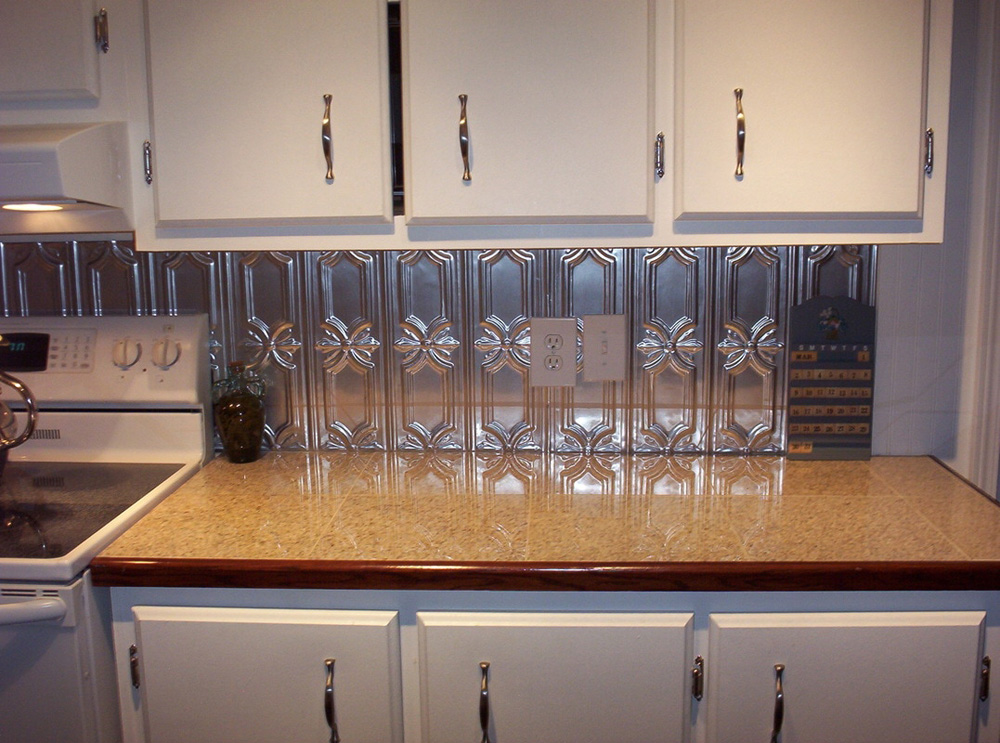
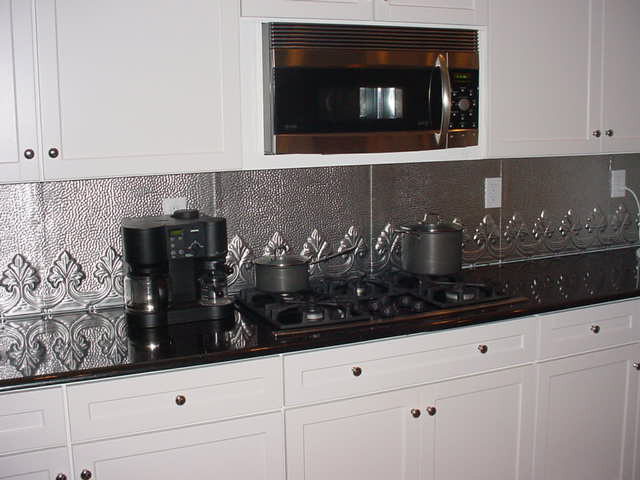
Peel and stick tin backsplashes are affordable, easy to install, and super trendy in the interior design world right now. Gone are the days of cutting tiles for a kitchen backsplash with special wet tile saws and messy grout to clean up.
With peel and stick tin backsplashes, your kitchen or bathroom will feel elegant, sophisticated, and put together with less hassle.
What Are Peel and Stick Backsplashes?
Peel and stick backsplashes are the most convenient way to install a backsplash in your kitchen or bathroom without the hassle or mess of traditional backsplashes. These unique backsplash tiles come with a ready-made k adhesive on the back of the tiles that easily adhere to the wall without mess or clean up.
Typically, these backsplashes are lighter in weight and require very little tools for installation. This makes DIY installation a breeze.
The material of these peel and stick backsplashes are usually thin material such plastic that looks like real metal or other materials. This is why they’re so versatile and easy to use.
Benefits of Peel and Stick Tin Backsplash

Installing peel and stick tin backsplash tiles is extremely easy for any DIY homeowner. Unlike traditional tiling, peel and stick tin backsplashes do not require tile adhesive, grout, or spacers. There is also no intricate cutting that needs to be done on a special tool with peel and stick tin backsplash tiles. This will save homeowners money and time.
Another benefit is the savings. Essentially, the peel and stick tin backsplash tiles give you the look of a real tin backsplash without spending all of the money on the real material. The tiles will look like real tin but cost half of the price. Who doesn’t love that?
A Word of Caution
There is one minor detail that many peel and stick backsplash manufacturers leave off of their advertising: wall preparation. Once you buy the peel and stick tin backsplash material, you might expect to go straight home and start applying. But this is not necessarily true.
Installing any type of material to your walls requires wall preparation beforehand. This means you might have to sand the wall, buff the wall, or fill in holes from nails or screws. If you fail to do this part of the preparation process, the peel and stick material could turn out lumpy or “off” and maybe even not stick properly to the wall itself. This will require more time and money to be spent to fix the issue than you originally spent on the peel and stick tiles themselves.
What Materials Do You Need?
To properly install peel and stick tin backsplash tiles, you’ll need:
- Scissors (or equivalent)
- Bubble Remover Tool
- Measuring Tape
- Level
- Clean Cloth
You will not need the traditional grout, glue, nails, or screws to install peel and stick tin backsplash tiles!
How to Install Tin Backsplash Tiles

Step 1 – Measure the Desired Area
With a measuring stick or measuring tape, get an accurate measurement of the area you are wanting to use the tin backsplash on. Bathrooms and kitchens are the ideal locations for tin backsplashes. This also means that there are unique features such as sinks or outlets that will require special measurements and cutting during the installation process. Keep this in mind!
Step 2 – Peel Your Tin Backsplash
Like we’ve already established, there is no need for grout or mortar here. All you need to do is peel the backing off of the tin backsplash tile and expose the adhesive material. Some peel and stick backsplashes may require extra adhesive, but this is not typical. Read the directions for your particular tin backsplash to determine what you need.
Step 3 – Stick onto the Wall
This part may sound easy, but it is not as easy as it sounds. Sticking the tin backsplash onto the wall requires precision and focus. Be sure to keep the back of the backsplash clean and away from anything that could cause the adhesive to become less sticky. Once the tin backsplash is placed on the wall (starting from the corner or the bottom first), it will not be easy to remove. If you do remove the piece of tin backsplash, you’ll probably ruin the material. This could cost you a great deal of money, so be sure of where you want to stick it. Run your bubble remover over the tin backsplash to ensure that it is flat to the wall and free from bubbles.
Step 4 – Wipe the Tile with a Clean Cloth
After you have finished sticking your tin backsplash pieces onto the wall, wipe the entire section down with a clean cloth. This will help you get any extra debris off and inspect for anymore bubbles.
Time to Enjoy
You’ve successfully made it through your tin backsplash installation with peel and stick materials! This is a very big accomplishment that you should be proud of. With a newly installed backsplash, your kitchen or bathroom will look exactly how it should: put together and crisp.
Pro Tip
While peel and stick backsplashes are easy to install, easy on the wallet, and easy on the stress, tin backsplashes look incredible when they’re actually done with tin. Of course, you can achieve beautiful kitchens or bathrooms with other materials, but nothing beats actual tin backsplashes. They’re easy to clean, stand the test of time, and give you a finished looked from top to bottom.
The tin backsplash that uses real tin materials may cost you more and require more specialized tools, but the outcome is incomparable. You would have a kitchen or bathroom that anyone would want.
The unique thing about tin backsplash tiles is they run in a variety of price ranges and could cost you anywhere from $21 per square foot to $50+ per square foot. The price will depend on what you are looking for from the tile itself. Check out our options here and find one that suits your needs. Put in a little more work and reap the benefits for years to come!


