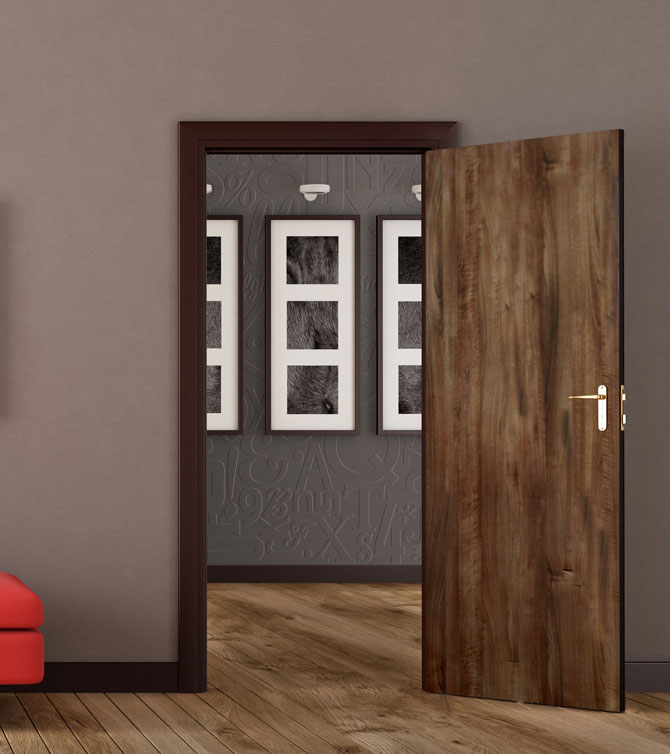
Installing Interior Door Skins
Written by Milan Jara on 16th Oct 2019

There are a lot of options for quickly and easily updating a space in your home or office. Some are much more complicated and expensive than others. If you’ve decided to upgrade your space with an interior door skin, the next step is to get it installed. While this might seem overwhelming, the process is pretty simple as long as you do it methodically. Here are general step-by-step directions for installing your door skin.
Prep
Installing door skins is fairly straight forward but can take some patience and precision. Although some say you don’t need to take the existing door down to do put the skin on, it is easier to work on the door if it isn’t attached. Putting it flat on sawhorses or a table makes it more stable and easier to work with.
Once you have that done, you’re ready to move onto the fun part.
Get Started

Once you have chosen the color you want to go with for your interior door skin you will need to open it up and unroll it. You may want to leave it flat for 24 hours to make sure there is no curl left in it. If you unroll it and put something heavy on its corners, that should flatten out by the time you are ready to work on your door.
- Once the door skin is flat and ready to be used, remove the door from its hinges and put it on a flat surface. Skins work on flat doors only as anything with a design won’t allow the skin to set properly and you will end up with bumps and air pockets.
- Take all the door hardware off the door. This means you have to unscrew the knob or handle, remove any knockers, nameplates or kickplates. This makes putting the skin on simpler as you won’t have to be as precise in your trimming as you try and work around items.
- Make sure there is no material on the face of the door. You don’t want dirt, paint, dust or any other item that can hinder the adhesive. Once the door is clean you can sand around the edges to make sure their face of it is a little bit rough. You want to make sure there is a good area for the adhesive to stick to when you put the new skin on.
- Check the new interior door skin to make sure that the grain that is imprinted on it runs up and down not horizontally. You want to run the length of the door.
- Once you have the old door prepped and the new skin ready, you can take off 2" of backing so the adhesive is showing. You will put the new skin on and let it go over the top of the door by about ¼". Once you have done that and are comfortable with its placement, then you can take off the whole back of it and start to slowly put it down the door. You want to do this little by little with a small roller (similar to the ones used for wallpaper seams) so you can make sure the skin not only sticks to the door but there are no air bubbles either. You do this until you have reached the bottom and the whole face of the door is covered.
- Now you can neaten it all up. Make sure you trim the top, bottom, and sides of the door with a sharp knife so there is no excess material hanging over the edges. Once that is complete you can take some sandpaper or plane and gently work on the edges of the door. This is to make sure the door will still open and close with ease. It will also help stop the skin from peeling off the door at the edges.
- Now you need to put the hardware back on. You will need to find where they were previously and gently making new holes in the skin to ease the reinstallation.
- Put the door back on its hinges and make sure it opens and closes properly
While these directions are meant to be for standard doors both in households and businesses, you can also use them if you plan to use the interior door skins for smaller cabinets as well. They apply to both as you will need to simply do the same thing on a smaller scale.
Final Thoughts

Interior door skins are a simple and economical way to create a clean look in an area that may need some decorating help. Using door skins can save the hassle of purchasing a brand new proper size door and having to hang it. Working with an existing door is much easier as you already know it fits and the hinges are typically in place. Putting the skin on an existing door can help bridge a color transition between rooms in a home or office or it creates a door that can have two completely different styles. One side being office-friendly and the other working in perhaps a manufacturing side. It keeps the styles neat, clean and up to date.
Like most decorating techniques, interior door skins take some time to prepare for and install but all of it is straightforward and doable. It’s an easy fix-up project that you can either do on your own or with help. Interior door skin installation does not require a lot of tools and its simplicity can bring a good range of decorating possibilities. Make sure you take a good look at what’s available. You can often order samples of door skins for a minimal price to see what you like best and what suits your decorating situation. Once you choose your desired color, you are set to update your doors economically and with style.


