Our Guide to Styrofoam Ceiling Tiles
Written by Milan Jara on 16th Jul 2020

If you’re seriously considering the option of installing Styrofoam ceiling tiles, then you’re on the right path to having a wonderful looking ceiling that will create an elegant style to your home, office, studio or other business.
This guide will provide you with the benefits surrounding Styrofoam tiles for your ceiling. That way, it will be up to you as to whether this approach is essential for the setting in which you’re looking to decorate.
What are Styrofoam Tiles?

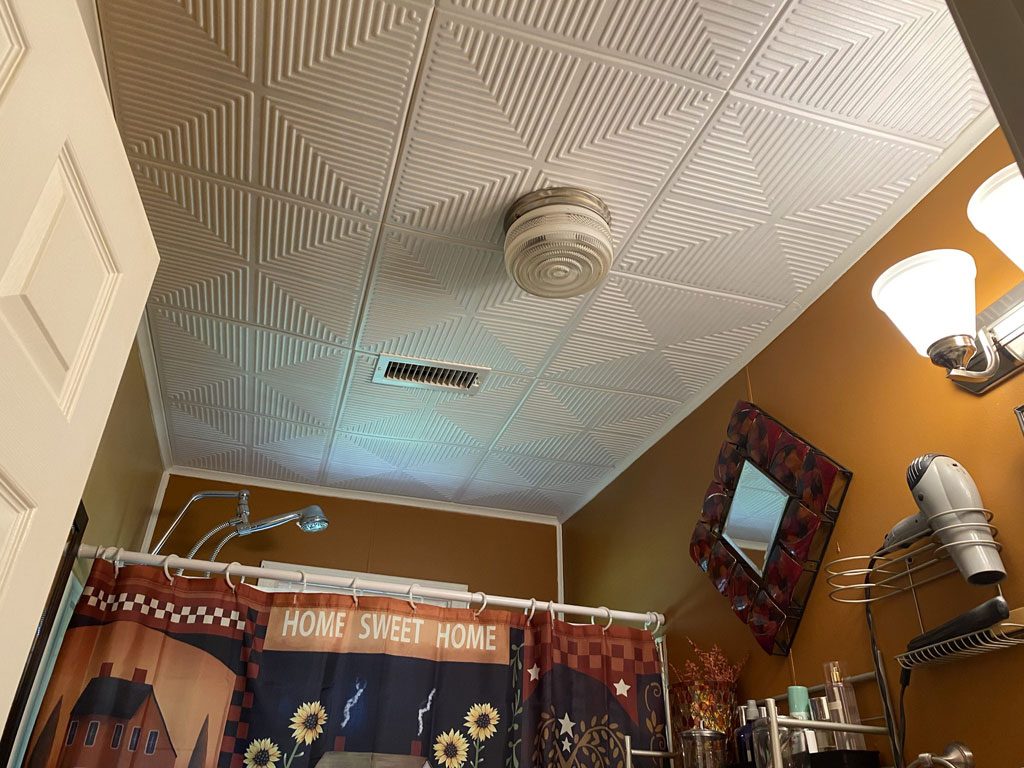
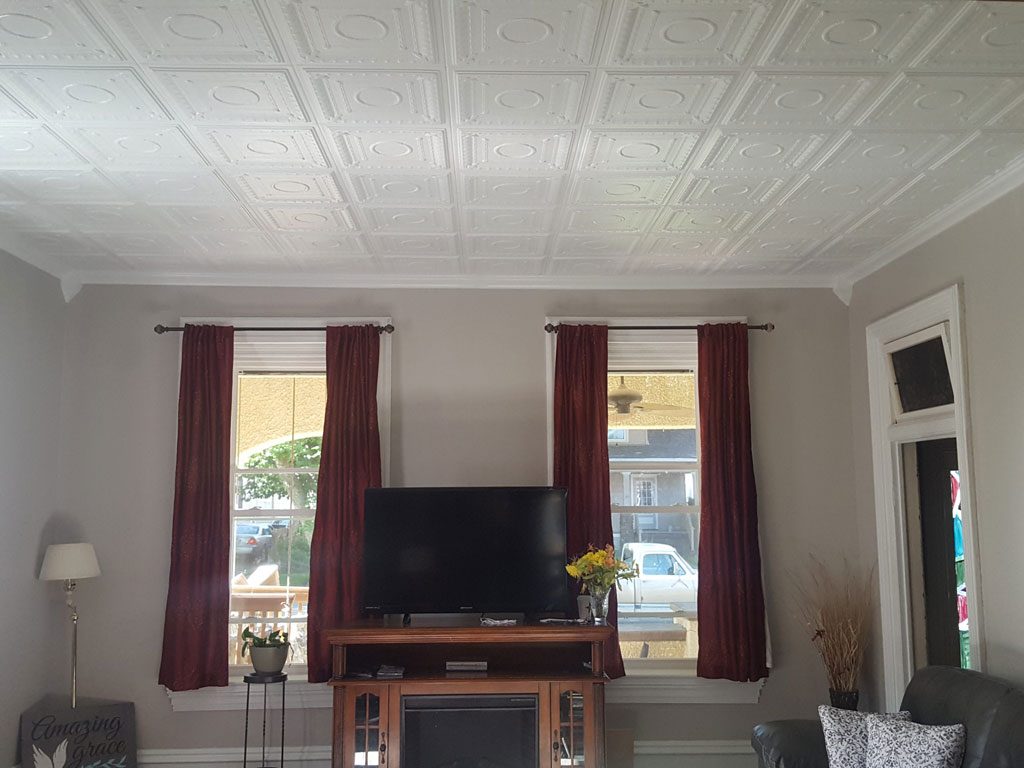
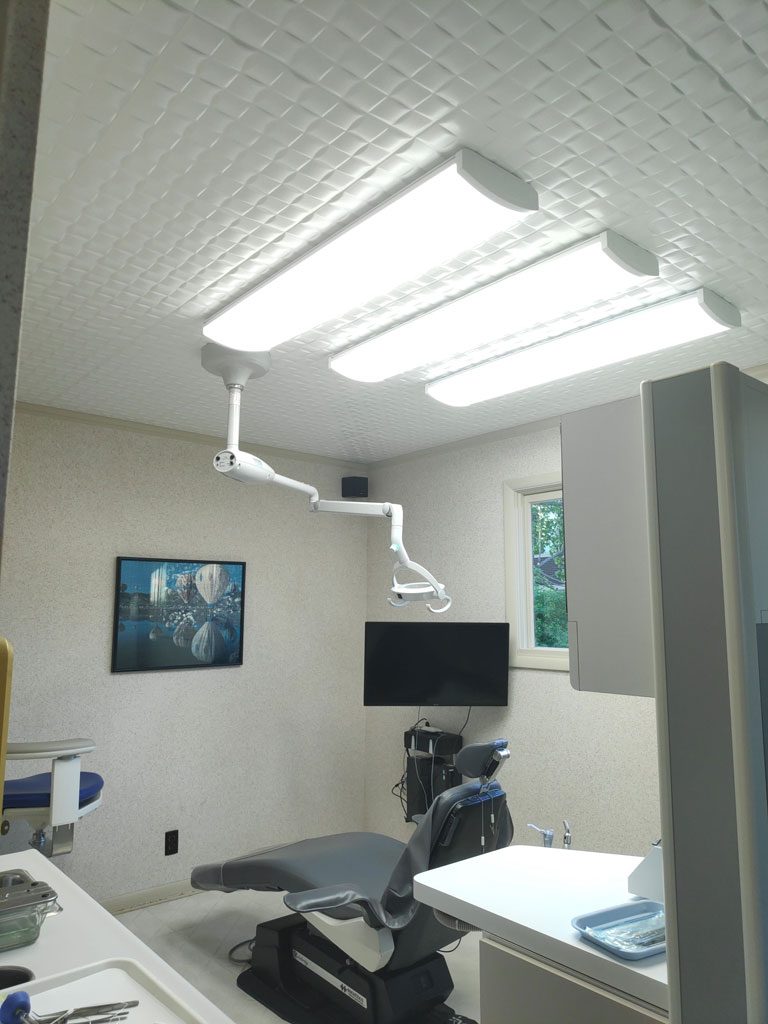
Styrofoam tiles are usually white,and they tend to consist of patterns so that your room can have that extra style layered to it. They are considered to be polystyrene as they are produced from using extruded polystyrene. By going with Styrofoam ceiling tiles, you have the option of leaving them plain or laminating them to give them extra protection. This is highly recommended if you’re looking to install them in your kitchen or bathroom. This is because it will protect the ceiling from heat and humidity – something that these two rooms will always generate.
Why go with Styrofoam Ceiling Tiles?

As mentioned, these particular tiles come with a variety of benefits. Such benefits include:
- Easy Installation: The main reason why they’re easy to install is that they’re incredibly light in weight. By being straightforward to install, they don’t require many tools, giving anyone who isn’t a professional the chance to fit them to a ceiling.
- Light maintenance service: Although the cleaning process comes as a little trickier than other types of ceilings, it still doesn’t consist of difficult work.
- Versatile: One of the standout benefits to adding Styrofoam tiles to your ceiling is that they are extremely versatile. By placing these tiles to your ceiling, you can paint them to match any color theme. Furthermore, they can be placed over different kinds of ceilings, including stucco, plaster and cement. Ultimately, if there any imperfections on your ceiling, adding Styrofoam is an excellent solution to this issue.
- Cost-effective: If you’re looking for one of the cheapest ways to transform your ceiling, then Styrofoam is one of those options that’s best suited.
Despite having all of the benefits listed above, one of the more crucial benefits they can offer is the ability to insulate your room. If you’re looking for a way to reduce the cost of your heating bill throughout the winter, then opting for a Styrofoam ceiling may be the way to go.
How is a Styrofoam ceiling installed?

There are many decorators who often choose to apply Styrofoam ceiling tiles as they are economical, yet so easy to cut – making them a simple way to cover up your ceiling. As the tiles are flexible, they are a great way to apply over surfaces with irregularities – hence why they are perfect in covering up a popcorn ceiling.
One factor you’ll notice when you hold a Styrofoam ceiling tile is that each one feels quite flimsy. This doesn’t mean you’ve invested in a material that’s cheap and is not going to work. This happens to be why they are effective in what they do. They may be thin, but it’s the reason why they’re easy to work with. Once you’ve installed them to your ceiling, you won’t be able to tell.
To get started with the installation process, here are the tools you’ll need in which to get started:
- Paint tray and roller (if you choose to paint them)
- Measuring tape
- Pencil
- Chalk line
- Utility knife
- Straight edge
- Caulking gun
- Putty knife
-
Firstly, lay the tiles out in a single layer and apply latex paint. It’s important to avoid oil paint as this will eat through the Styrofoam. So, make sure you’re using latex paint and paint over the tiles twice over.
Feeling a little bit more creative? Then you can spruce up your ceiling tiles by painting your tiles twice over with different colors of paint. This is a great way to add more depth to your style.
-
Once the tiles are painted, you then have to find the center of your ceiling. By undertaking this step, you’ll then have the tiles being evenly spaced between the walls. From this point you’ll have the choice as to whether you place the tiles straight or diagonal.
For straight installation: Measure your ceiling’s length and divide that number in half to determine where the halfway point is. Use your pencil to mark where that specific point is.
Use the chalk line to join those two points together. Tack the end of the chalk line at one end of the ceiling before pulling it across to the other side. If you repeat this step going the other direction of the ceiling, you’ll end up with the cross in the middle of the ceiling. This will be your halfway point.
For diagonal installation: If you decide to place your tiles diagonally, then finding the halfway point happens to be easier.
To find the halfway point, use the chalk line to make a line from one corner to the other. Then repeat this between the other two corners. By using this method, you’ll end up with a cross where the halfway point sits.
-
The next step is where you glue the tiles to the ceiling. Use liquid nails in a caulk gun so that you can glue the back of the tiles. Make sure to apply a significant amount of glue over the back of the tile. You can spread the glue from the middle to the corners by using a flexible putty knife.
Place the first tile in the right angle created where the two lines cross in the center of the room. Once lined up, press the tile onto the ceiling, gently.
Keep gluing up tiles and lining them up along the chalk lines.
Make sure the edges and corners line up or the lines will be crooked when you finish.
Repeat these steps with the next row of tiles, again making sure the edges and corners line up.
- This is where you need to cut around any ceiling fixtures such as lights.
- Cut the edge tiles. As soon as you reach the point where the ceiling connects with the walls, you’ll need to cut the edges of the remaining tiles.


