Painting Faux Brick Wall - Easy DIY Project You Can Do
Written by Milan Jara on 6th Apr 2022

Learn how to paint faux brick wall panels like a pro. This tutorial has everything you need to know to paint faux brick walls.
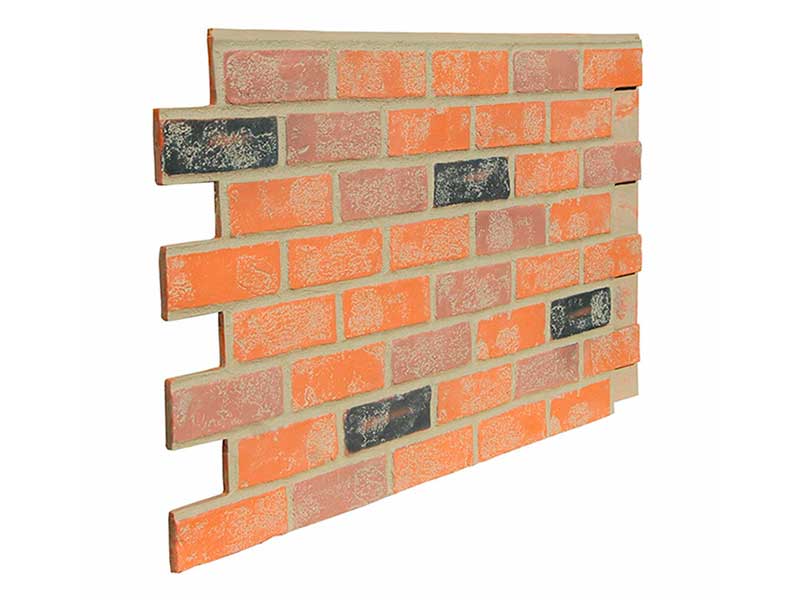
The cost of redesigning the walls of a room or other space with a stylish brick accent can be a bit expensive. True brick accents are also quite tedious to install and usually require hiring an expensive contractor to do the work. Fortunately, these circumstances do not apply to faux brick panels, which are affordable, easy to install, and can transform virtually any space.
Faux brick panels are available with unique designs and color schemes, and you can adapt them to any room design with a simple coat of paint.
As with any other painting project, without the proper planning, knowledge, and materials, you will most likely be disappointed with the final result. We say this because even though painting faux brick is one of the more accessible DIY projects, it still requires a bit of background knowledge to do it successfully. Knowing what type of paint to use, what tools to use, and what issues to watch out for are just a few things you should familiarize yourself with.
Fortunately, you have come to the right place to learn all that and more. This article will save you time, money, and energy by providing you with the best and most efficient methods, including all the helpful tips and tricks used by professionals for painting siding, walls, backsplashes, etc.
Proper Planning
The best place to start for those unsure of what direction they want to take when painting faux brick is to take some time to browse some photos for a bit of inspiration. This will give you a good idea of the different painted faux brick styles and colors people use, and you'll likely find something that tickles your fancy.
Once you decide on a color and style for your faux brick paneling, you can now get all the materials you need. Listed below are the materials we typically use for this painting project, although you can substitute for rollers or brushes that you feel comfortable with.
Tools
- Paint Roller with Tray and Liner
- 120-Grit Sanding Sponge
- 2 Large Sponges
- Drop Cloth
Materials
- Brick Wall Panels
- 128-oz Paint Conditioner
- Paint Samples
- Painters Tape, Paintable Caulk
It’s important to understand that this tutorial is only covering how we prefer to paint our faux brick walls, which leans more towards a distressed industrial big-city type look. Your preferred choice of color and style depends on your style, and therefore the various steps in this guide might not be necessary for your choice of color design. This mainly refers to the extra steps it takes to make the faux brick look distressed; otherwise, the process is more or less the same for everybody.

Workable Paints
If you choose to completely cover your faux brick wall using a durable glossy or semi-gloss paint is one of the better options. We typically choose this type of paint because the texture of many faux brick wall panels often causes some less durable paint types to chip and flake over time. Therefore, find paint with pretty good durability so your wall will look better for longer and with less maintenance. If glossy or semi-gloss isn’t your cup of tea, then the next best option is either eggshell or semi-gloss lacquers also work well.
When deciding on the color choices for your faux brick veneer, we recommend choosing tones that go well with the color of the furniture or other walls in the room. If you want a realistic look, find colors that have more depth and dimension. More specifically, look for two mid-tones in the middle of the color spectrum, not too pastel and not too dark or too light, two highlight colors, and two to three accent colors. Of course, it's a bit overkill to use that many colors, and many people make do with two or three, but if you've got the time and budget for six different colors, we assure you that this combination of hues looks great when combined.
For the mortar line, choose a paint color that's gray, cream, tan, or similar.
*PRO TIP: It is usually unnecessary to buy a whole gallon of paint to finish a large wall since those using 5 or 6 colors will only use a few ounces of each.
*PRO TIP: Because bricks aren't identical and no two bricks are exactly alike, you will be able to achieve a more realistic look in your painting if your bricks aren't all painted the same. As such, if you make a mistake, it’s not the end of the world.
Prep
- If any nail holes are present, we recommend that you fill them before caulking the seams.
- Prep your walls before you start painting by removing all wallpaper and sanding down rough spots, so you can apply the paint smoothly.
- Wash the surface of the imitation brick thoroughly and let it dry completely.
- Protect the areas you don't want to get paint on with painter's tape and masking film, including corners, the ceiling, and the bottom of the wall.
- Remove or cover all electrical outlets and switch plates.
Painting the Base Coat
*PRO TIP: Paint releases fumes that can be toxic if inhaled, so be sure that the area you’re working in is well ventilated, so no people or pets are exposed to them. Open all the windows and use a fan to bring fresh air into the room if you're working indoors. Even when you're painting outdoors, you should use a fan to keep the air moving and the fumes away.
Begin by first applying a base coat to your faux brick wall. We recommend doing this with a color that closely matches the tone of dry cement or whatever the color of your brick mortar line is to make the wall look more genuine. Start by using a brush to paint the corners, sides, and along the baseboards, then use a roller to fill in the rest of the wall. Sometimes two base coats of paint may be necessary depending on the color of the wall and base coat color. If the original wall color is still noticeable or you feel a second coat is needed, wait 24 hours after the first base coat before applying the second one. Make sure to also give the second coat time to dry before moving on.
*PRO TIP: For beginners, it's important to practice the sponge painting technique on a piece of brick before beginning on the actual wall. Not only does this help you become familiar with sponge painting, but will also give you a good idea of how your colors will look after you apply them.

Sponge Time
Once everything is dry, you can begin to get the sponges, paints, and other gear ready so you can start painting your bricks. First, pour a small amount of your paint choices into separate holding containers or paint trays that are big enough for you to easily dip your sponge into. Next, prepare your sponge by soaking it in water then wringing it out until it’s moist but not dripping all over the place.
*PRO TIP: Some people like to cut their sponges to the size of the bricks on their wall to make the painting process a little neater.
Start first by taking your sponge and lightly dipping it in the paints to get a few different colors on it. Then lightly dab your sponge on random bricks to the top of the wall first. We recommend doing this in broad, circular strokes to create a natural blotchy look. In all honesty, there isn't a right or wrong way to do this, so don't stress about making sure each dip of your sponge has the right amount of color. Simply mix and blend as much or as little as you want. You want each brick to look a little different, there are no other rules you need to adhere to.
*PRO TIP: If the back of your sponge remains clean, you can use it to remove any misplaced paint. The sponge shouldn't have too much paint on it, as excess paint may drip down the wall and leave streaks.
When your sponge runs out of paint, dip it in the paints again, but this time do it in a slightly different direction or order than the first time, and then continue dabbing it on the wall again. The trick is that the colors should vary from brick to brick. The goal is that each brick must be unique in both shape and color to mimic the variations of actual bricks.
*PRO TIP: After the first sponge is saturated with color, switch to the second sponge, and if possible, have someone help you clean the first sponge before the paint on the outside hardens.
At first, your wall may not look great, but as with many painting projects, it'll take shape after you fill the wall a bit more, so don't worry, it just takes a little time. Fill in as much of the space as you can. When most of the area is done, fill in all the big gaps and the corners. When you finish, let the paint dry, remove the masking tape or painters tape, and admire your new work.
*PRO TIP: Use a light touch with your sponge so the holes and bumps it has can help replicate the rough texture found on the surface of real bricks. Pressing too hard causes the paint to spread more, leaving little texture on the surface.
Optional:
You can choose to sand the surface with a 120-grit sanding sponge to reveal the original color of the bricks. Then wipe the surface clean.
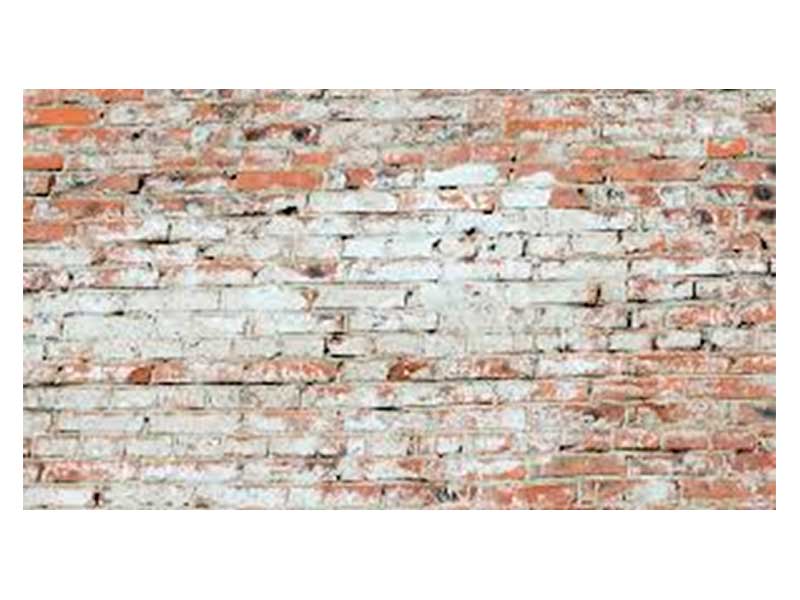
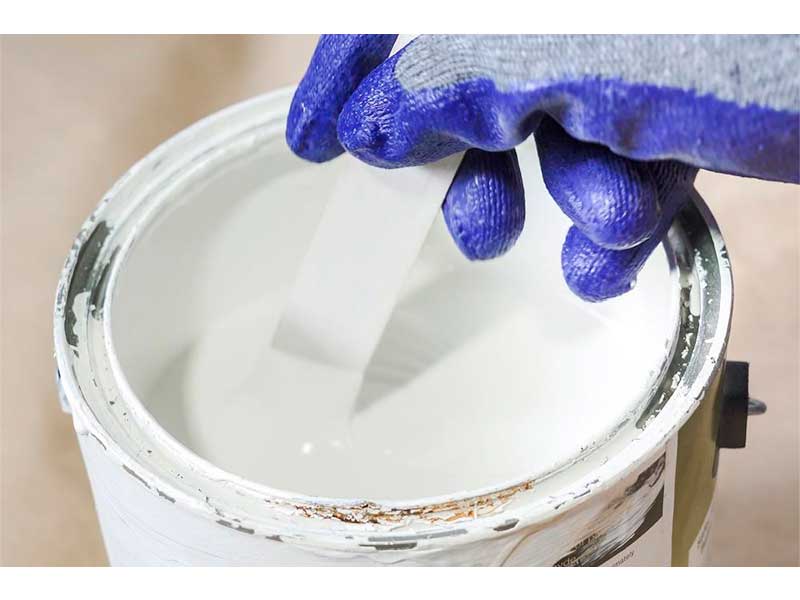
For an even older industrial look that makes the wall look like it was painted white at some point, but the paint has peeled off over time, you can whitewash parts of the wall. To give your wall that worn look, pour various shades of white paint into a bucket and thin it by adding a half cup of water per gallon of paint and mixing thoroughly. When it flows freely through the funnel, the paint is sufficiently diluted. Then, using a brush, lightly apply the paint to the pattern, leaving certain areas untouched.
Conclusion
With a total cost of about $130, this project proves you can achieve an authentic brick look without spending a fortune. All you need is some paint, a little time, effort, and creative imagination.
The important thing to remember is when you buy faux brick walls, you don't have to keep the original color. Hopefully, this guide has shown you that with careful planning, the right materials, and a little hard work, painting these panels just the way you like is easy.
There are many other ways to paint faux brick, so don't be discouraged if the method described in this guide doesn't suit your taste. Some methods use different colors, alternative methods of applying the paint, and a variety of ways to age it artificially. Before you try any of these alternative methods, do your research and find out as much as you can about how much it costs and if there are any potential problems you should be aware of. As long as you're prepared, the rest of the process should go easily. If you take your time and practice, you can be sure that your brick painting project will be done right.


