Revamp Your Kitchen with a Tin Backsplash DIY-Style in One Day
Written by Milan Jara on 21st May 2019

Maybe you purchased your home with an existing backsplash that doesn’t quite fit your design desires. Alternatively, maybe you installed a backsplash years ago that doesn’t meet your needs anymore. Either way, you’re ready to get rid of current backsplash and put something up that showcases who you are now.
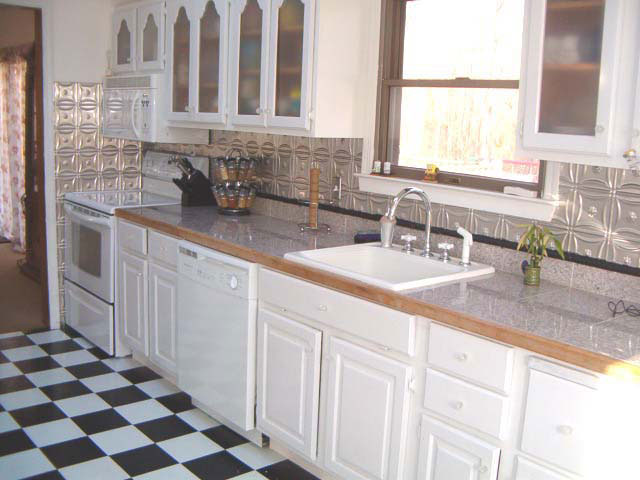
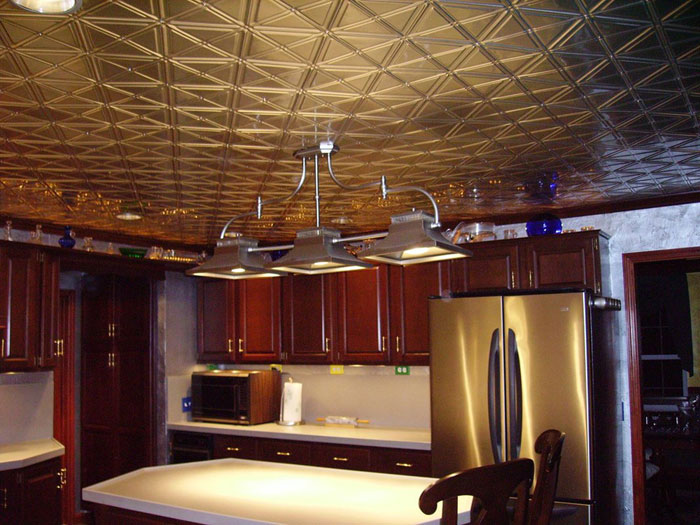
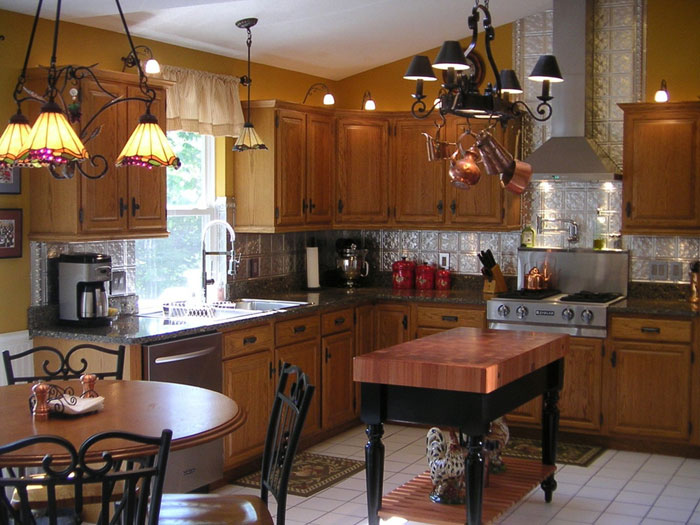
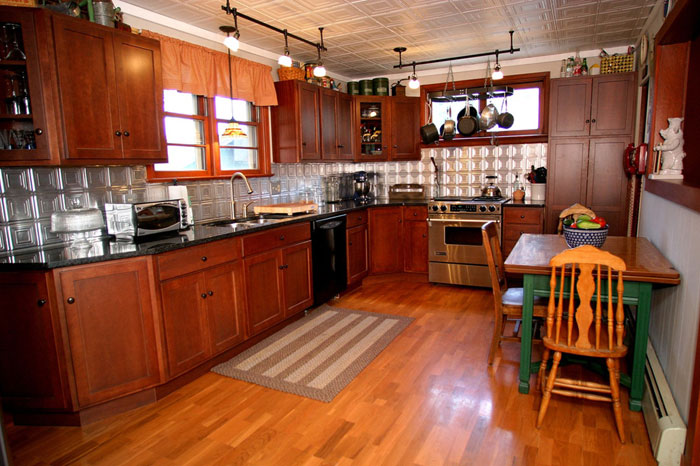
Like with tin ceiling tiles, a very popular kitchen backsplash trend right now is the tin backsplash, specifically pressed tin backsplashes. These backsplashes can transform an entire kitchen in less than one day and for less money than you think! DIY projects often go wrong for various reasons, but this is one project you can certainly take on without any worry at all.
Here’s how to renovate your current kitchen backsplash into the dream you’ve always envisioned (and without any heavy power tools).
What You’ll Need
The good news: you won’t need any power tools for this project!
Here’s what you will need:
- Pressed tin-style PVC panels
- Primer
- Paintbrush
- Pencil
- Tape measure
- L square tool
- Caulk gun
- Tin snips
- Caulk (in the color of your pressed tin-style PVC panels)
- Knife (utility preferred)
- Construction adhesive
The other good news: this entire project can cost you under $110 if you price out your materials for your tin tile backsplash. Don’t skimp on the good tin tile just to save a penny, though. Consult your hardware professionals before purchasing anything to make sure you get what you need for your particular project.
Steps to Achieve Your New Pressed Tin Backsplash

Step 1: Paint Over Existing Backsplash with Primer
It’s more than likely that you’ll have an existing tin backsplash tiles that have some type of color in it. This means that you’ll want to ensure the existing color doesn’t seep through on the new pressed tin backsplash. In order to keep the color from popping through, paint the current backsplash with a white primer. This will make sure that any color on the current backsplash will stay hidden, only allowing your new pressed tin backsplash to be the star of the show.
Step 2: Pick an Inconspicuous Place to Start
It’s probably not a good idea to start placing your new pressed tin backsplash tiles in the middle of the backsplash where everyone can see it. If this is your first backsplash project, you’ll most likely find a few intricacies about the project itself that you didn’t realize before you started. Therefore, it is wise to pick a spot that won’t be seen by many (like a back corner or behind an appliance) to start. If you mess up, you’ll know what to fix for the next few tile panels. Measure your first section and mark the panel with a pencil and square tool to keep the cut as straight as possible.
Step 3: Find Your Cutting Space
Find a good place to cut your pressed tin backsplash panels such as outside or on a piece of cardboard on the floor. Do not use your kitchen counter to cut your panels, though. Any little mistake could cost your countertop. All you will need to cut with is a knife (such as a utility knife). No tile cutters needed.
Step 4: Cut Out the Details
After each section has been measured and cut, you will want to go back through and mark where any electrical outlets, lighting, or light switches are on the actual panel itself. Cut out those spots with your knife before placing the tin backsplash panel on the wall. It is by far one of the most difficult parts of the process, but if it is done correctly and thoroughly, you should have no problems at all. To be safe, get yourself a few extra pieces of the pressed tin backsplash panels incase you make a mistake (and they always happen, so be prepared).
Step 5: Start Adhering
As we said before, installing these pressed tin backsplash panels don’t require heavy-duty power tools. In fact, when it’s time to start installing these panels to the wall itself, all you need is your construction-strength adhesive! Apply it to the back of your pressed tin backsplash panel evenly in little 1” mounds (pro tip: less is more). Then, place the panels on the wall in the desired location. Press your panel onto the wall in the sections and watch the entire backsplash come together in a snap!
Step 6: Repeat and Caulk
Complete these five steps for each section of the backsplash. Repeat the process all the way around the kitchen until your backsplash is completely finished and transformed. Once the pressed tin backsplash panels are in place, seal the divisions and edges with caulk. This will keep the backsplash together as one cohesive unit as well as keep any dirt or water from seeping behind the panels themselves.
Step 7: Painting (Optional)
Many pressed tin panels come in different colors to suit your design needs, but many of them come in white. If you want clean lines, white pressed tin backsplashes are stunning. You can also distress them a bit and give them a rustic feel. Either way, pressed tin backsplashes look great in any kitchen!
Rustic Chic or Metal Mania

Kitchen trends are either rustic and shabby chic or modern and metal. The great news is that you can find tin backsplash panels made from PVC that look like the real deal but do not cost you the same price as expensive materials. These tin backsplash designs can be achieved within your budget while keeping true to your design.
DIY Pressed Tin Backsplash Panels for the Win

Going for the big renovation projects in your home doesn’t have to be daunting. In fact, this one-day project can completely transform your kitchen without meltdowns or blown budgets. The key to a successful tin backsplash is to use the resources you have (your local hardware handymen, tools you have at home, and budget-friendly tools) to give you the desired design look you’re after.
Having a pressed tin backsplash can look expensive but cost you much less than you ever imagined. This entire project could come in under $110 and bring life to a once boring space you dreaded cooking in. Make memories in your kitchen and remember it the way you want to—beautifully designed and filled with love.


