Tin Backsplash
Written by Milan Jara on 22nd Nov 2018

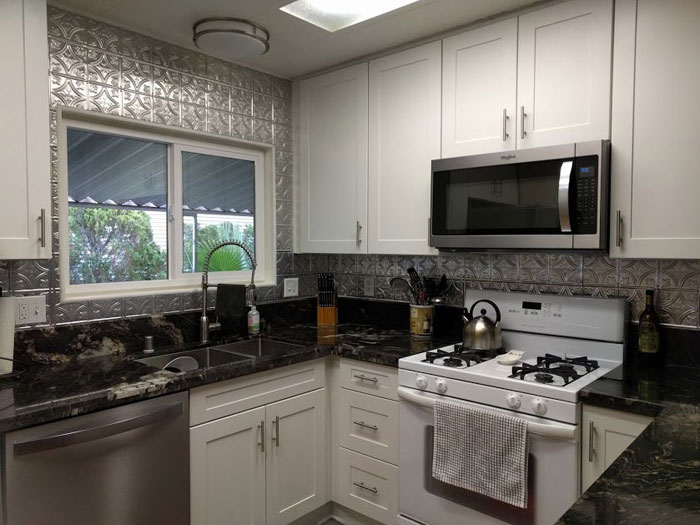
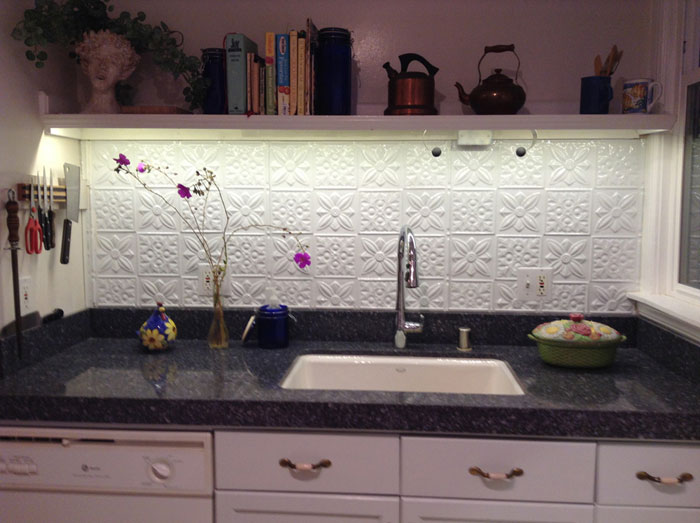
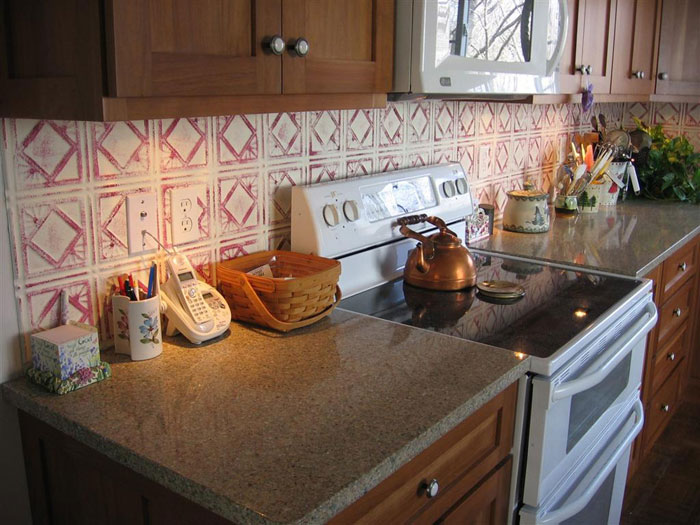
Known as the staple of Victorian homes, tin backsplash tiles have come a long way and now they are found in the modern kitchen too. Many homeowners are now replacing the ceramic tile with tin tiles to decorate and add texture and interest to their kitchen during remodeling projects.
By using decorative tin, these backsplash tiles are attractive to look at when installed correctly and add character and charm to your kitchen. Like other building materials, a tin backsplash requires you to follow a precise procedure when installing it in your space. In addition, it comes with a few pros and cons, so read on to find out more about these fun backsplash ideas.
How to Install Tin Backsplash

Prepare the Area
Before you begin installing your tin backsplash, ensure you clean your project area. Go to your breaker box and cut power before you take down your switches. Then, clean your project area with all-purpose liquid cleaner and dry it with a paper towel. Also, if your work area falls in a place that does not intersect with any of your countertops, be sure to use a level and draw a horizontal line that is level with your countertop.
Measure and Cut Your Tiles
Measure the areas that you want to cover from one end to the other. Also, measure the height of the work area from your countertop to just below your cabinetry. Record this data before you proceed to the next step.
Next, place a tile on your countertop and then mark your data from the countertop all the way to the bottom of your cabinetry. Once that is done, use your straightedge to draw a line between all the labeled points. Finally, find a tin snip and cut your tin tile to size.
Measure and Cut Switches and Outlets
If your kitchen has areas with light switches or power outlets, measure their distance from the closest tile including whatever overlap there is between the outlet and that tile. With these dimensions, draw rectangles at the back of each tin tile.
Make holes big enough to accommodate a tin snip, cut off the rectangles you drew and discard them. Also, measure out protruding objects such as your windowsill and cut out this shape as well.
Secure Your Tiles to the Wall
Apply construction paste to your tiles. Then, press the tile firmly against the wall and rub all recessed surfaces. When you begin adding the other tiles, overlap their edges with the help of embossed grooves. Press all overlaps and be sure to remove any paste that has escaped from below the tiles.
Seal all Seams
Add some silicone to the area where the tiles meet the countertop so that water does not accumulate below your tiles.
Pros and Cons of Tin Backsplashes

Pros
DIY-friendly
Installing tin backsplash is something you can do on your own. All you need is a few tools like the tin snips, measuring tape, guillotine paper,and adhesive paste. With these tools, you can install tin backsplash within a short time.
Covering your kitchen wall with tin backsplash is fun, particularly for weekend warriors, and it can save you the need to hire a professional.
Easy to Customize
Tin backsplashes come in a number of colors, pressed designs, and finishes meaning they are fully customizable. You can apply copper colors or just use powder-coated paint to achieve the look you want so that your tin backsplash matches your décor.
Easy to Clean
With tin backsplash, keeping your kitchen area clean won’t be a problem anymore. Normally, just a simple wipe down using a mild soap or cleanser will do. However, you should be careful when cleaning painted backsplashes. They usually require a special cleaning method to ensure they continue looking shiny.
Highly Durable
Like most other metal backsplashes, tin is resistant to moisture and heat. Generally, it does not require a lot of maintenance except for a little cleaning occasionally. Tin is highly durable, so you can expect it to last a lifetime.
Tin’s fire resistance is useful in sensitive areas like the wall behind your stove or the area where the toaster oven and other hot appliances are placed.
Cost
While the choice of color and style affects the overall cost of your DIY project , the quantity of backsplash you will need to line your wall may cost as little as three dollars for each square foot. Based on Homewyse cost calculator, a 10x10 backsplash, when fully installed, costs about $12–$20 for each square foot. However, price varies based on location, pattern and the number of backsplash tins you buy.
Eco-friendly
Since backsplashes can be manufactured out of waste materials, they are eco-friendly. Companies like Armstrong develop theirs out of 60% recycled material, which makes them an excellent backsplash cover.
Cons
Over-stimulation Potential
Although tin backsplashes are manufactured in a variety of colors, you should choose wisely. Some panels that look good when used as ceiling material don’t always look as good when used as a backsplash. Because tin backsplash is a little more noticeable than your ceiling, choose a design that won’t give your space a funny look. If your kitchen has stainless steel fixtures and appliances, you shouldn’t add more metal or shine.
Finally, be careful when covering your wall with a patterned backslash—your wall will look weird if repeating designs on your tiles are not matched properly.
Acid Stain
Though tin backsplash resists staining and heat considerably, it is susceptible to acid engraving. Coffee, orange juice, or any other food with acid that splashes onto it may cause an irreversible etching. So, be ready to wipe off any splash immediately, although etching could still happen.
Dent Damage
As a metal, tin is prone to denting, particularly the decorative type that has a raised surface. Thus, be careful not to push pots or appliances against backsplash as that may cause dents.
Final Verdict
Installing backsplash as a DIY project should be fun, as long as you have a design that matches your taste. Before you decide to add a tin backsplash to your kitchen, ensure you understand its advantages and shortcomings. Only then will you be able to transform your room with these decorative metal tiles and give it character.


