Tin Ceiling
Written by Milan Jara on 22nd Nov 2018

A tin ceiling offers a homeowner the easiest way to spruce up the atmosphere and brings in some vintage charm. A plain ceiling hardly gets a second glance. However, adding a richly decorated tin panel instantly brings taste and character to your home.
These classic ceilings trace their history back to the 1880s, during which they were considered the most affordable material for a decorative ceiling. Today, most of the panels are manufactured out of a 30-gauge plate and form part of a pressed-metal ceiling. Tin comes in a variety of colors and finishes, giving you an incredible DIY approach to adding life to your ceiling.
Choosing a Tin Ceiling

Tin ceilings have a strong connection to Victorian-era interior design. Tin ceiling tiles were beautifully engraved by pressing them in die forming elaborate patterns that look like plaster ceilings the upper class loved. The result looked incredible and tin ceiling tiles slowly became popular.
Today, homeowners and designers are experiencing again the decorative value of tin ceiling panels and now they are using them to light up their rooms. Along with a classic crown molding, there are several patterns to pick from and the house you want to decorate and the desired look determine the exact tin ceiling design you wish to achieve.
Historical
Capturing a design that accurately mimics a specific era is usually difficult unless you already own a historical house. If you are a homeowner whose home is historical, there are many different types of tiles you can work with.
Although there are numerous patterns that come close to those on the original tiles, some companies actually make ceiling tiles using the original procedure and ingredients.
So, if you are looking for a pattern that feels historical, first research the period your house was built and find patterns that were used during that period. However, if your home has some ceiling from that period, find auxiliary ceiling tiles to replace the old ones.
Farmhouse
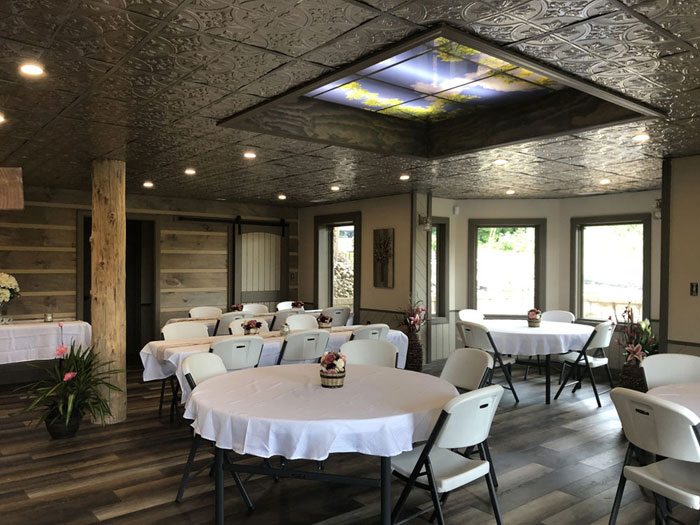
Those who love what a farmhouse looks like tend to relate tin ceilings with this design. While it may seem unusual to have a tin ceiling in your farmhouse, adding one on can help light up your space. A paint-coated tile ceiling would make an excellent choice for your space.
Contemporary
Tin ceiling panels make a good choice when you wish to enhance a room with stainless steel fixtures and appliances.
Types of Tin Ceiling Tile Finishes

Painted Tin Ceiling
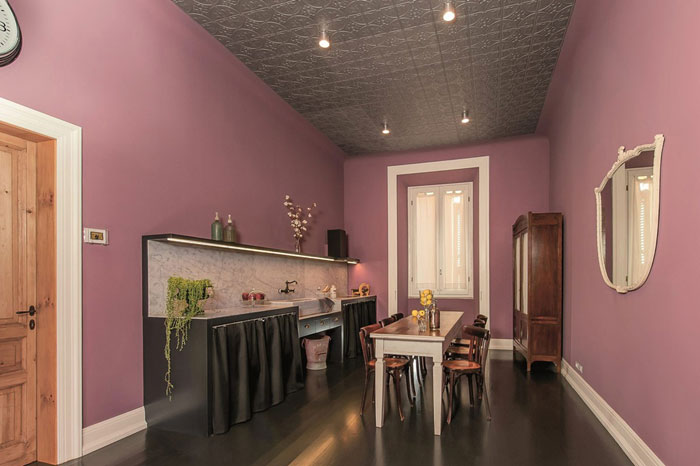
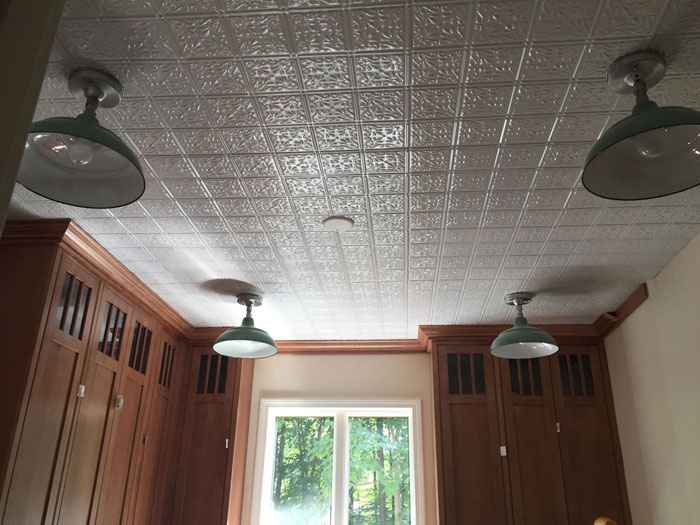
Painted tiles offer an authentic finish. You can paint these metal tiles many different colors to give your tiles an ornate plaster look or you could just go monochromatic. In most cases, paint is added to protect tin from rusting.
Copper
To date, copper is still being used as the material of choice for all kinds of use, including kitchenware. In addition, copper can be used as a ceiling material, although it is quite expensive. Furthermore, copper has to be well protected in order to maintain its appearance.
Exposed
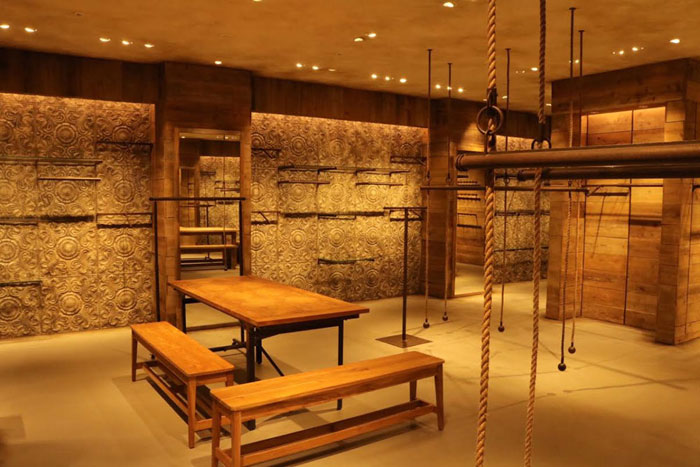
Some designers prefer exposed ceiling tiles. However, tin has to be coated with a thin layer of sealing material in order to preserve the metal’s original color. The sealing material also helps to protect the tiles during the cleaning process.
Cleaning the Ceiling
Cleaning your tile ceiling is quite tricky as the material is delicate and can easily dent if you apply too much force. As a result, regular cleaning helps to prevent the accumulation of dust, whichis quite difficult to wipe off.
If the ceiling is new, a soft cloth will do. Also, you could try using an air gun to blow away dust from crevices. Schedule your tile-cleaning program so that it is done along with other cleaning duties. Ensure you find a steady ladder so that you can reach places that are right above fixtures or appliances.
For tiles found in your kitchen, using a dry cloth will not clean them properly. In such a case, talk to the tile’s manufacturer so that they can provide you with recommendations on how to clean such tiles properly.
Types of Tin Ceiling Installations

Ceiling tile installations are of four types: drop-in suspension, nail up, glue-up and Snaplock.
Nail up Panels
These panels leave a 6-inch overlap between tiles. To install these tiles, you need an 18-gauge nail. The nails are driven around the tile using a pressure gun.
This system is similar to the onethat designers used during the 1880s. With this system, it is possible to use a plywood or astrip grid spaced at 24-inch centers. However, if you prefer to install a furring arrangement, ensure that it goes both ways so that your nails have enough support after every six inches.
Drop-in Suspension Ceiling System
This type of ceiling is designed such that all panels are in line with your grid. Ensure you secure the grid to your ceiling. The panels used are fixed into the grid and firmly secured. Most designers prefer to coat both panel and grid using the same paint to avoid a color conflict.
Patented Snap Lock system
This is a patent-embossed system in which tin tiles are fixed directly onto your ceiling grid. The paneling was manufactured such that you can carry out a DIY project. In addition, you can install it over existing tin tiles provided you are able to fix them correctly.
Glue-up Faux Tile
Setting up the gridis simple and installing the tiles is easy. All you need is to fix glue-laminated vinyl tin tiles onto existing ceiling tiles regardless of whether the old tile is popcorn or smoothly finished.
Tin ceilings light up your room, although they require a lot of care compared to plaster ceilings. You have to clean them regularly and inspect them for rust and dents. If you feel you can’t keep up with the level of care they need, consider another type of finish. Nevertheless, tin tiles are worth the care you should provide in order to keep them looking glamorous.
Wrap Up
Tin tiles have come a long way. They are used for various applications, including decorating your ceiling. They can be installed as a DIY project and, thereafter, you need to take good care of them if you want their shine to last a long time.


