Wainscot Ceiling Designs & How to Install
Written by Milan Jara on 5th Apr 2022
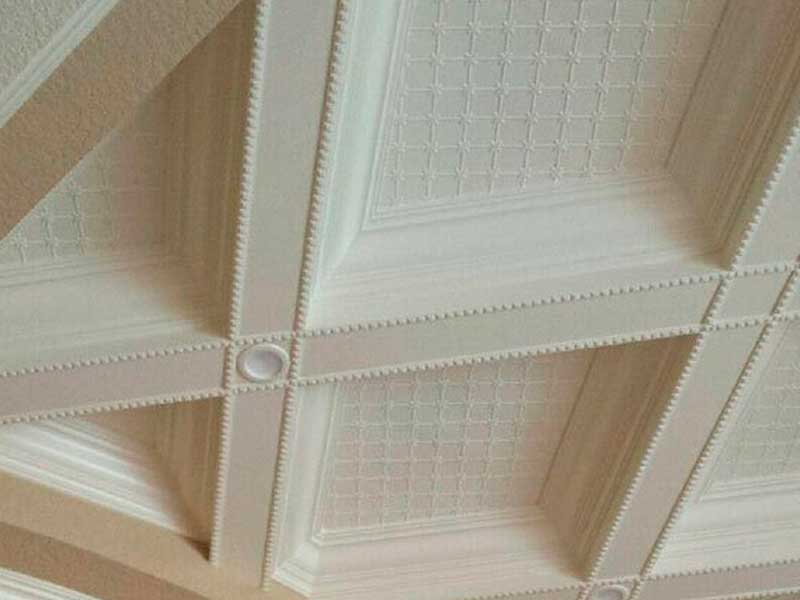
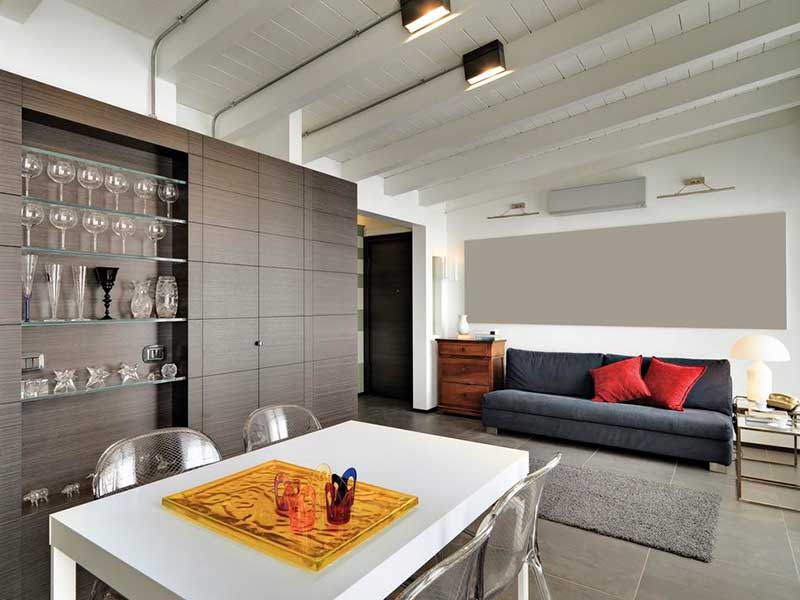
Adding a wainscot ceiling creates a comfy cottage look. Ceilings are the most overlooked area in the home and tend to have a flat look. Installing wainscoting will add both interest and dimension to your room. The good news is you can use the same wainscoting found on walls for the ceiling, although a beadboard panel is more frequently used.
Types of Wainscot Panels
Wainscot panels come in five types: flat, raised, overlay, beadboard, and board and batten.
Flat Panel
A flat panel simply lies flat and is installed behind your molding and trim.
Raised Panel
With a raised panel, the inside is flush with your outside trim pieces, accompanied by a beveled edge. It is the oldest type of wainscoting and was originally used as insulation. Generally, homeowners use it in living and dining rooms.
Overlay
An overlay is when you install a flat panel and place other panels on top, providing a raised panel appearance. It is a combination of raised and flat styles.
Beadboard
Beadboard is a series of thin rails connected by tongue and groove. Most times, a beadboard ceiling is found in the bathroom.
Board and Batten
These are vertical boards you place on flat panels or drywall. They are used to cover any seams. Vertical boards are called battens.
Pros and Cons
If you are using beadboard for your ceiling, there are a few things to be aware of. Installing it will transform your entire room. Ceilings are the most visible surface in any room, with only light fixtures or fans breaking up the area. Beadboard will draw your eye upward due to its visual texture.
If you hate your old popcorn ceiling, beadboard will completely hide it while eliminating the need to scrape it off. It is affordable, and there are DIY kits that are easily installed by the homeowner, providing they know basic carpentry. You can also paint unfinished standard beadboard to complement or match the room’s trim.
However, if you lack carpentry skills, choose a contractor for the installation. You can paint it afterward if you would like, but this will save you hours of aggravation and expense. Faulty overhead plumbing or a leaking roof will water-damage your beadboard, which may require you to replace it.
Additionally, beadboard makes a statement. Before installing it, make sure you want this look for many years to come. Even though you can pry it off, you will notice the nail holes in your ceiling. These will require you to fill them before repainting.
Required Materials:
- 4 x 8 tongue and groove wainscot sheets
- Tape measure
- Spirit level
- Furring strips
- Pencil
- Drywall screws
- Drill 1 x 2 MDF trim or pine
- Caulk gun
- Caulk
- Table saw
- Stud finder
- Drop cloth
- Paint roller
- Flat latex paint
- Paint pan
- Paint roller pad
- Extender pole
- Ladder
- 1” paintbrush
- Spackle/spackle knife
- Sanding block
- Primer
Steps to Installing a Wainscot Ceiling
Standard Beadboard
- Prime Each Side of the Wainscoting. Doing so prevents moisture from bleeding through the ceiling and causing stain marks. Allow your primer to dry. At this point, you do have the option of painting the visible sides of the wainscoting panels, but most people opt to do it after installation. This method is, however, the easiest.
- Mark Your Ceiling. Standing on a ladder, use your tape measure to determine the width and length of your ceiling. With a pencil and spirit level, mark a straight line down the center of your ceiling’s length and width. It should cross directly in the center to create four distinct quadrants. An easier method is snapping a chalk line along the length with a chalk line tool. Your studs should be 16” across your ceiling.
- Attach the Furring Strips. Locate ceiling joists using a stud finder. Mark the joist with a pencil and spirit level. Cut each furring strip to the appropriate size using a table saw. Place each strip along your ceiling perpendicular to the corresponding joist. Attach them by drilling drywall screws through the strips into the joists.
- Install Your Wainscoting. Have someone assist you while standing on a ladder. They should help to hold each wainscoting sheet up and into place. Attach your wainscoting to the furring strips. This is done by drilling your drywall screws into the recessed grooves on the right and left edges of each sheet.
- Add the Decorative Trim. Use drywall screws and your drill to attach the 1 x 2 MDF or pine trim to your furring strips. Do this along the perimeter and center of the ceiling. Fill the holes with a spackle knife and spackle and lightly sand using a sanding block.
- Paint. Protect your floors from paint splatters using a drop cloth. While standing on your ladder, use your caulk gun to fill gaps between the sheets and trim. Fill the paint pan using flat latex paint. Attach your extender pole to the roller handle to apply paint to the ceiling. Touch up grooves that are difficult to reach using your one-inch paintbrush.
Beadboard Systems
Some beadboard installs with special clips. These attach to your furring strips/joists and don’t require you to blind nail your plank. Planks slide directly into the clips, and the benefit is they don’t show underneath.
Installing them involves attaching your clips then sliding the planks into position. This generates a floating ceiling effect since your beadboard planks are held using clips.
Additionally, you can use special tracks while attaching clips to the tracks before sliding in your planks. If you already have a dropped ceiling, you can use the grids to attach the beadboard.
How Do I Maintain a Wainscot Ceiling?
A beadboard ceiling is easy to maintain. Use a long-handled feather duster to remove dust once a month. Wipe planks with a soft damp cloth. You should also quickly repair leaks in your plumbing fixtures, pipes, and roof to avoid water damage.
Wainscot ceilings are easy to install if you have basic carpentry skills. Before installing it, be sure that you are committed to this design. It does make quite a statement in a room, and to undo it requires quite a bit of work. However, it does provide a cozy, comfortable cottage feel to any room.


