
On Sale!


Images are not true representations of the actual color of the product, some are computer generated. Be sure to order samples to make sure the colors will work for you.
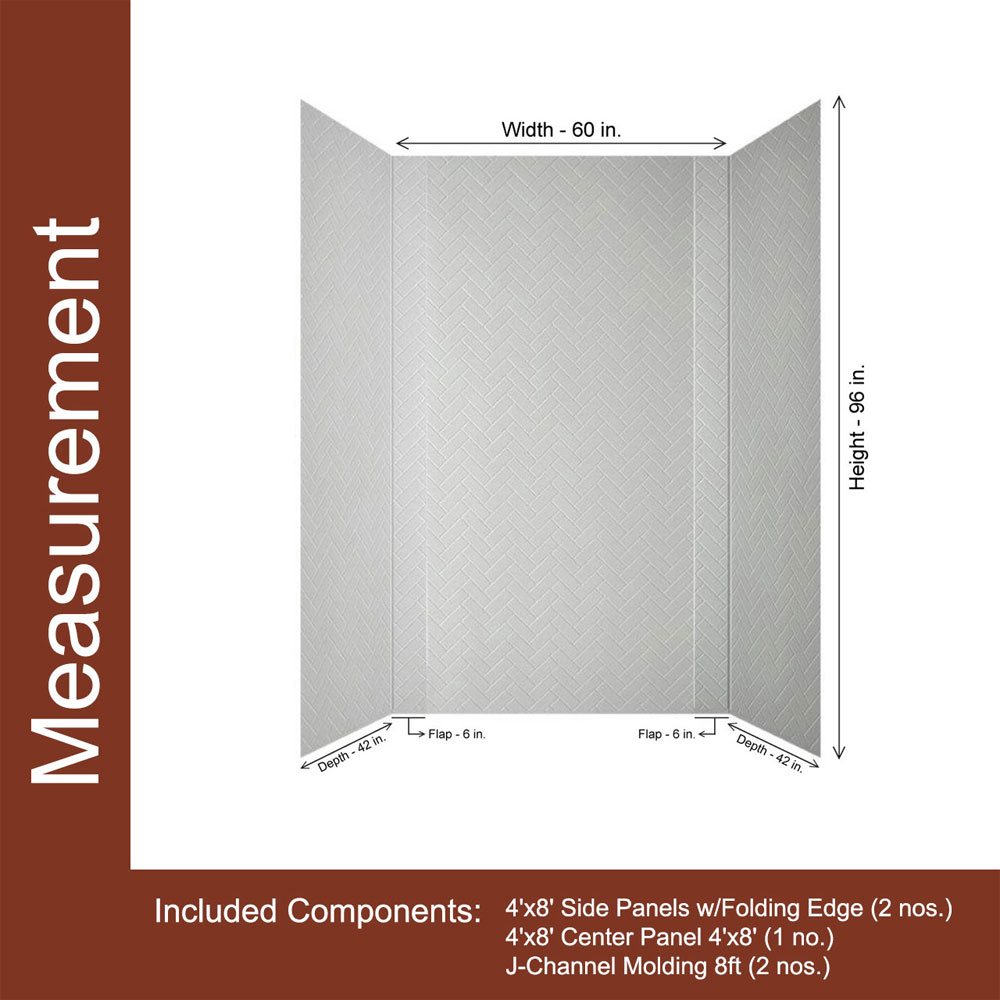
How Many Pieces Do I Need?
Project Estimator for
Do you like the look of this product but need help with installation? Learn more in our 'How To' section or get assistance from a professional installer.

Visualize how products will look in your room with our Room Visualizer tool.
Click the button below to get started!


 / 96 - 160 sqft - Gloss White Paintable")

Get a Herringbone Tile Shower Wall With Less Work
Herringbone wall tile just happens to be one of the hottest trends in home design today. The herringbone wall tile pattern is simply an arrangement of rectangular tiles. To achieve a herringbone wall tile pattern yourself, you'll need to grout the walls and lay down rectangular tile in a pattern that resembles the skeleton of a herring. Using a herringbone pattern will often require far more cuts than a straight set of tiles or those placed in an offset pattern, which will mean that you'll need to buy extra tiles, adding to the cost of this project. But there's a better way to get this great look in your bathroom: Use our herringbone shower tile panels and you'll save a bundle and save time, since they're far easier to install than ceramic tile and much more affordable.
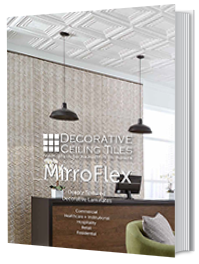
MirroFlex - Downloadable Catalog
Using Herringbone tile in the shower is an ideal choice because it adds visual interest to a small space without looking too cluttered. Our herringbone tiles and tub surround kits are also practical: They're durable, non-porous, grout-free, and easy to install and maintain. These herringbone shower tile panels are made from waterproof PVC, so they're great to use in high-moisture areas.
If you have a larger bathroom, carrying the herringbone look through the space can give the room a more unified look. Our herringbone shower wall panels pair nicely with individual herringbone wall tiles: Use them to create a stylish backsplash and add a subtle visual link between the sink and shower.
Follow these simple steps to install herringbone shower wall panels in your bathroom:


Get a Herringbone Tile Shower Wall With Less Work
Herringbone wall tile just happens to be one of the hottest trends in home design today. The herringbone wall tile pattern is simply an arrangement of rectangular tiles. To achieve a herringbone wall tile pattern yourself, you'll need to grout the walls and lay down rectangular tile in a pattern that resembles the skeleton of a herring. Using a herringbone pattern will often require far more cuts than a straight set of tiles or those placed in an offset pattern, which will mean that you'll need to buy extra tiles, adding to the cost of this project. But there's a better way to get this great look in your bathroom: Use our herringbone shower tile panels and you'll save a bundle and save time, since they're far easier to install than ceramic tile and much more affordable.
MirroFlex - Downloadable Catalog
Using Herringbone tile in the shower is an ideal choice because it adds visual interest to a small space without looking too cluttered. Our herringbone tiles and tub surround kits are also practical: They're durable, non-porous, grout-free, and easy to install and maintain. These herringbone shower tile panels are made from waterproof PVC, so they're great to use in high-moisture areas.
If you have a larger bathroom, carrying the herringbone look through the space can give the room a more unified look. Our herringbone shower wall panels pair nicely with individual herringbone wall tiles: Use them to create a stylish backsplash and add a subtle visual link between the sink and shower.
Follow these simple steps to install herringbone shower wall panels in your bathroom: